
I’ve made several of these custom dog portraits for friends and family as small wall quilts or pillows. I find these to be very well received gifts (who doesn’t love their favorite pet?) For me, these are fun, fast and pretty easy to make. Here is a tutorial on how I create these from photos.
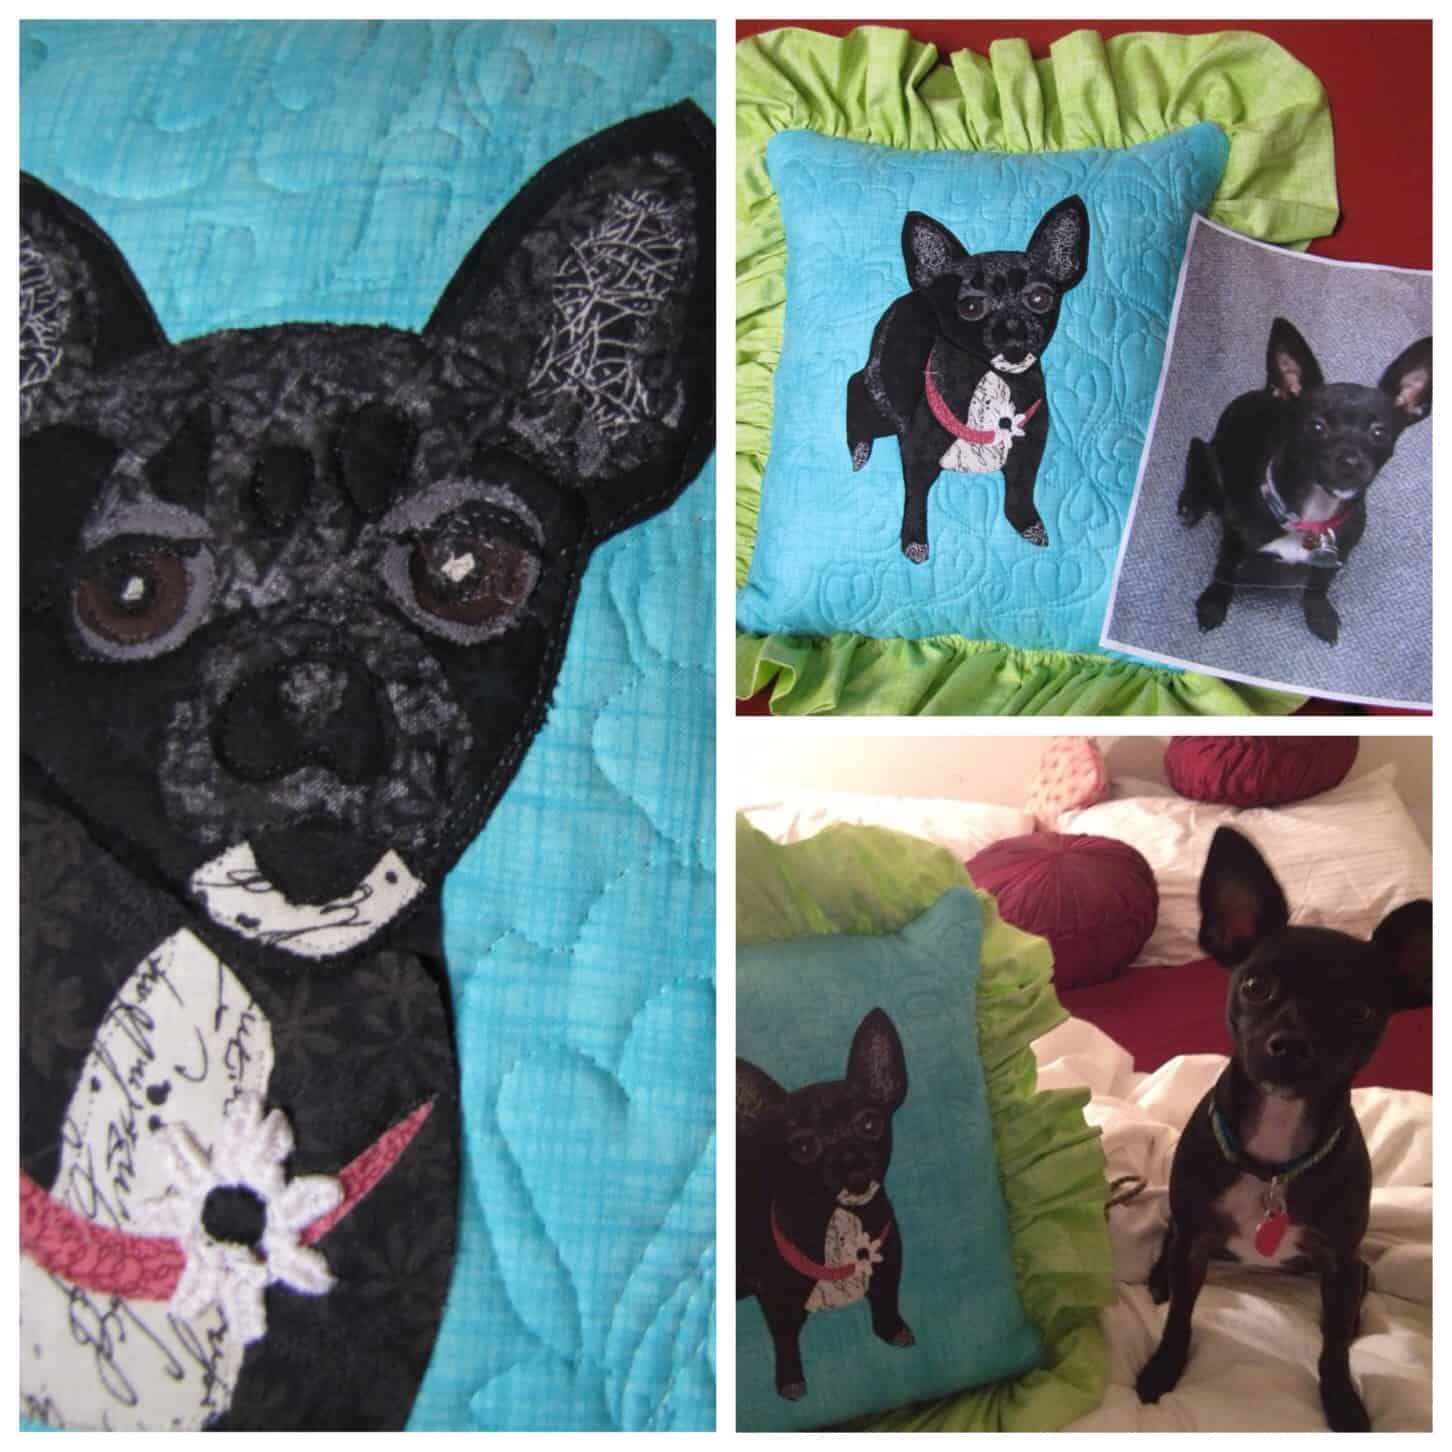
Django – Austin

Taylor – North Carolina
Lexy – San Francisco
Sparky – San Francisco
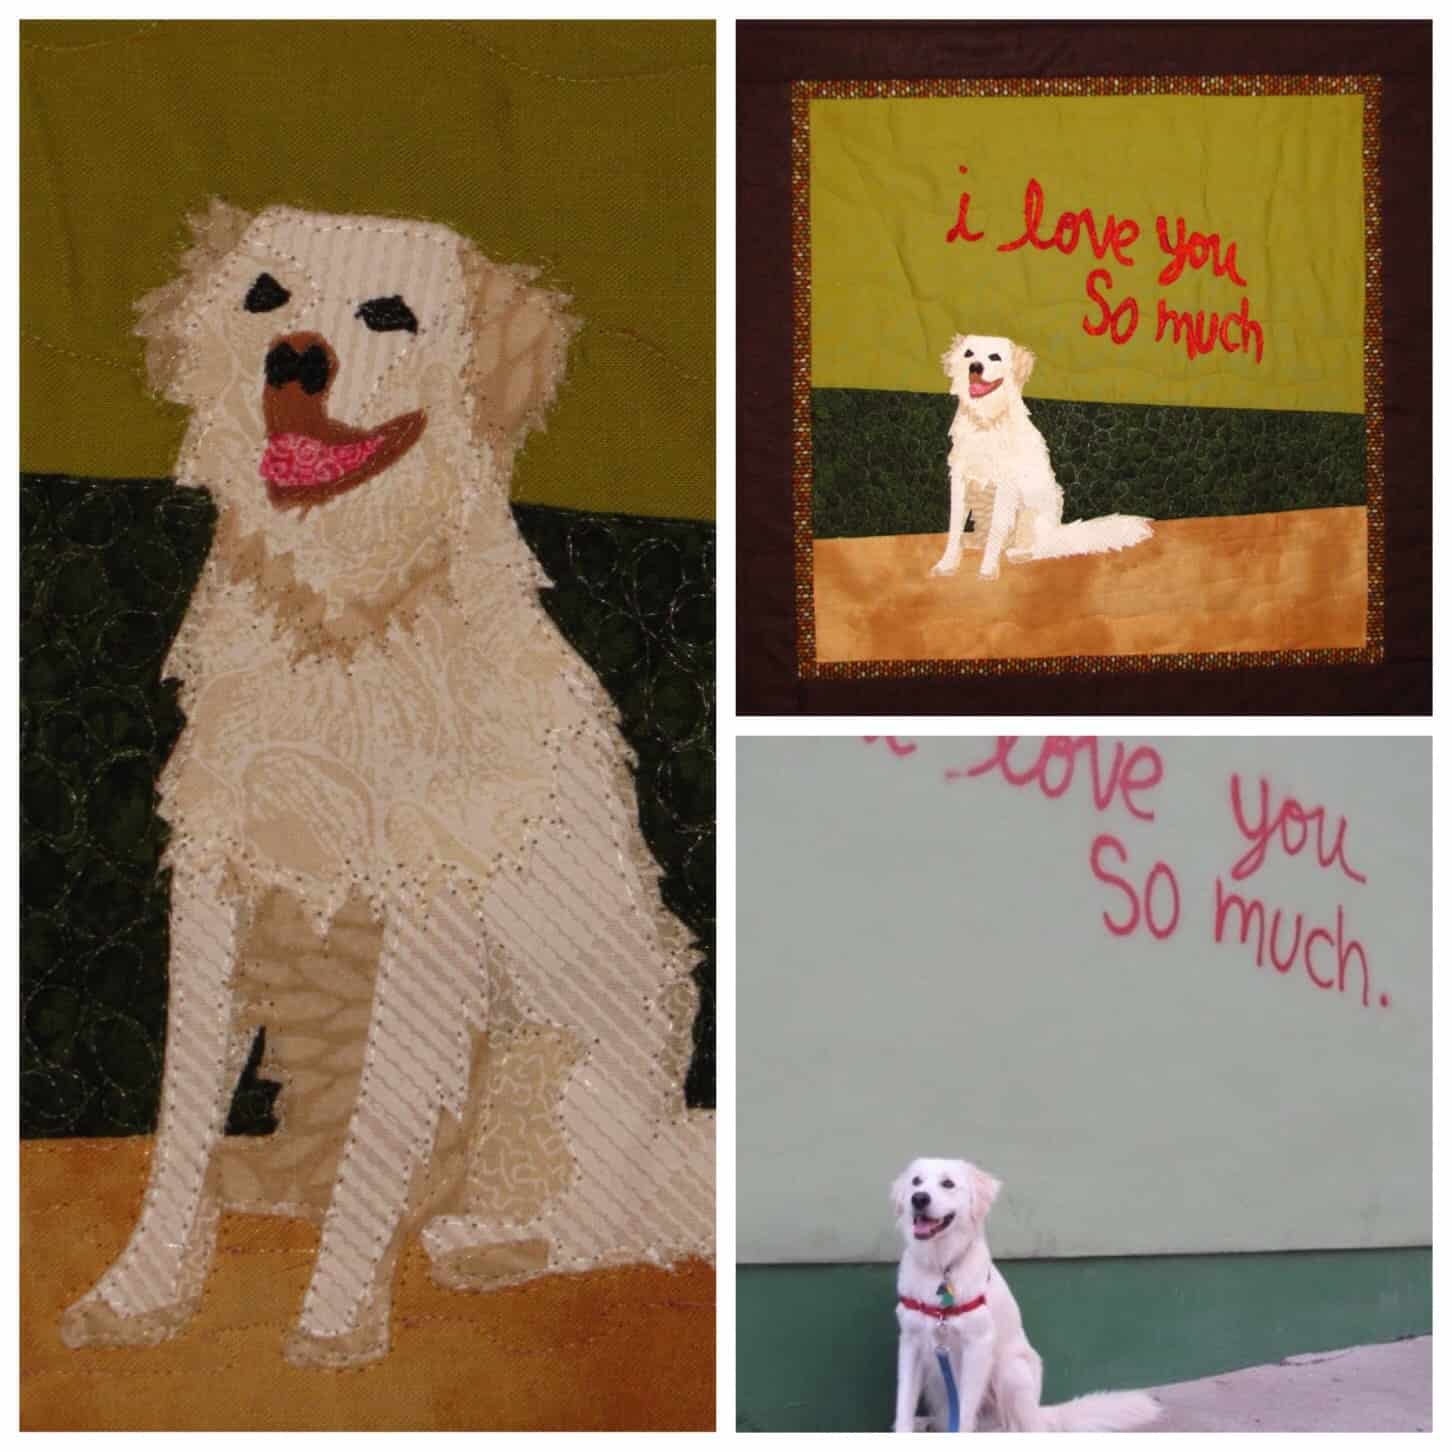
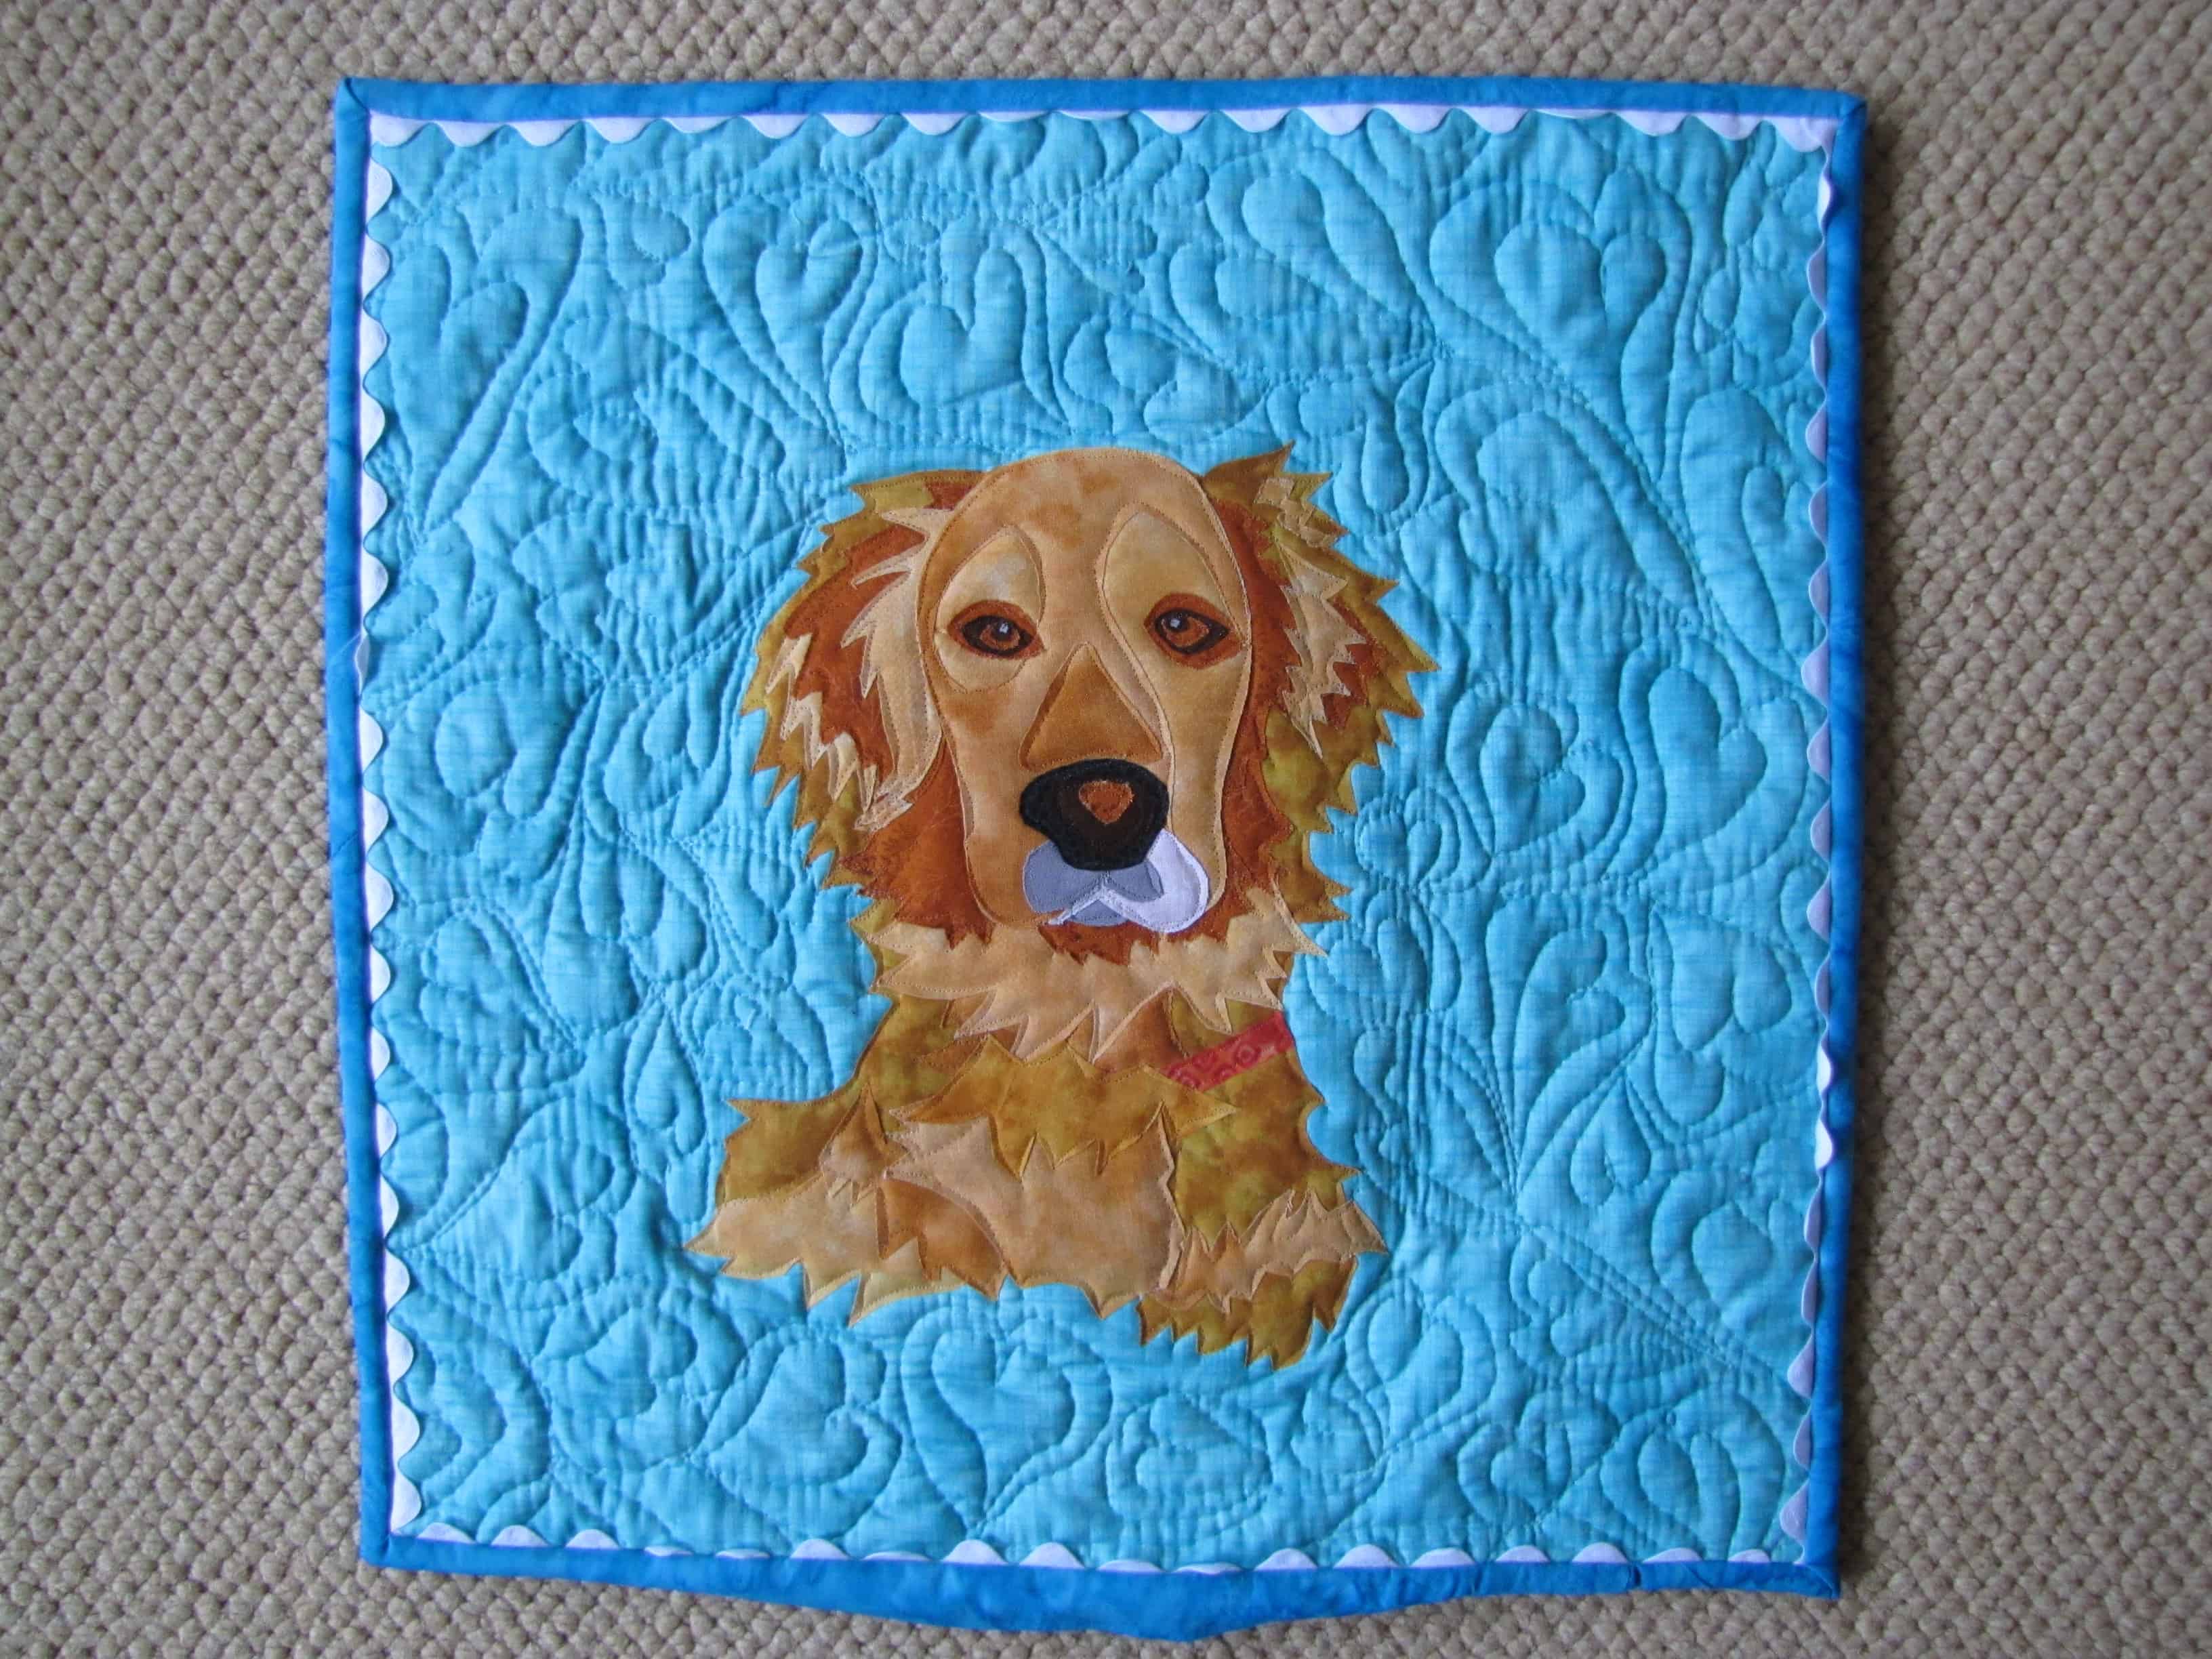
I’m going to show you how I made Sophie – our next dog neighbor
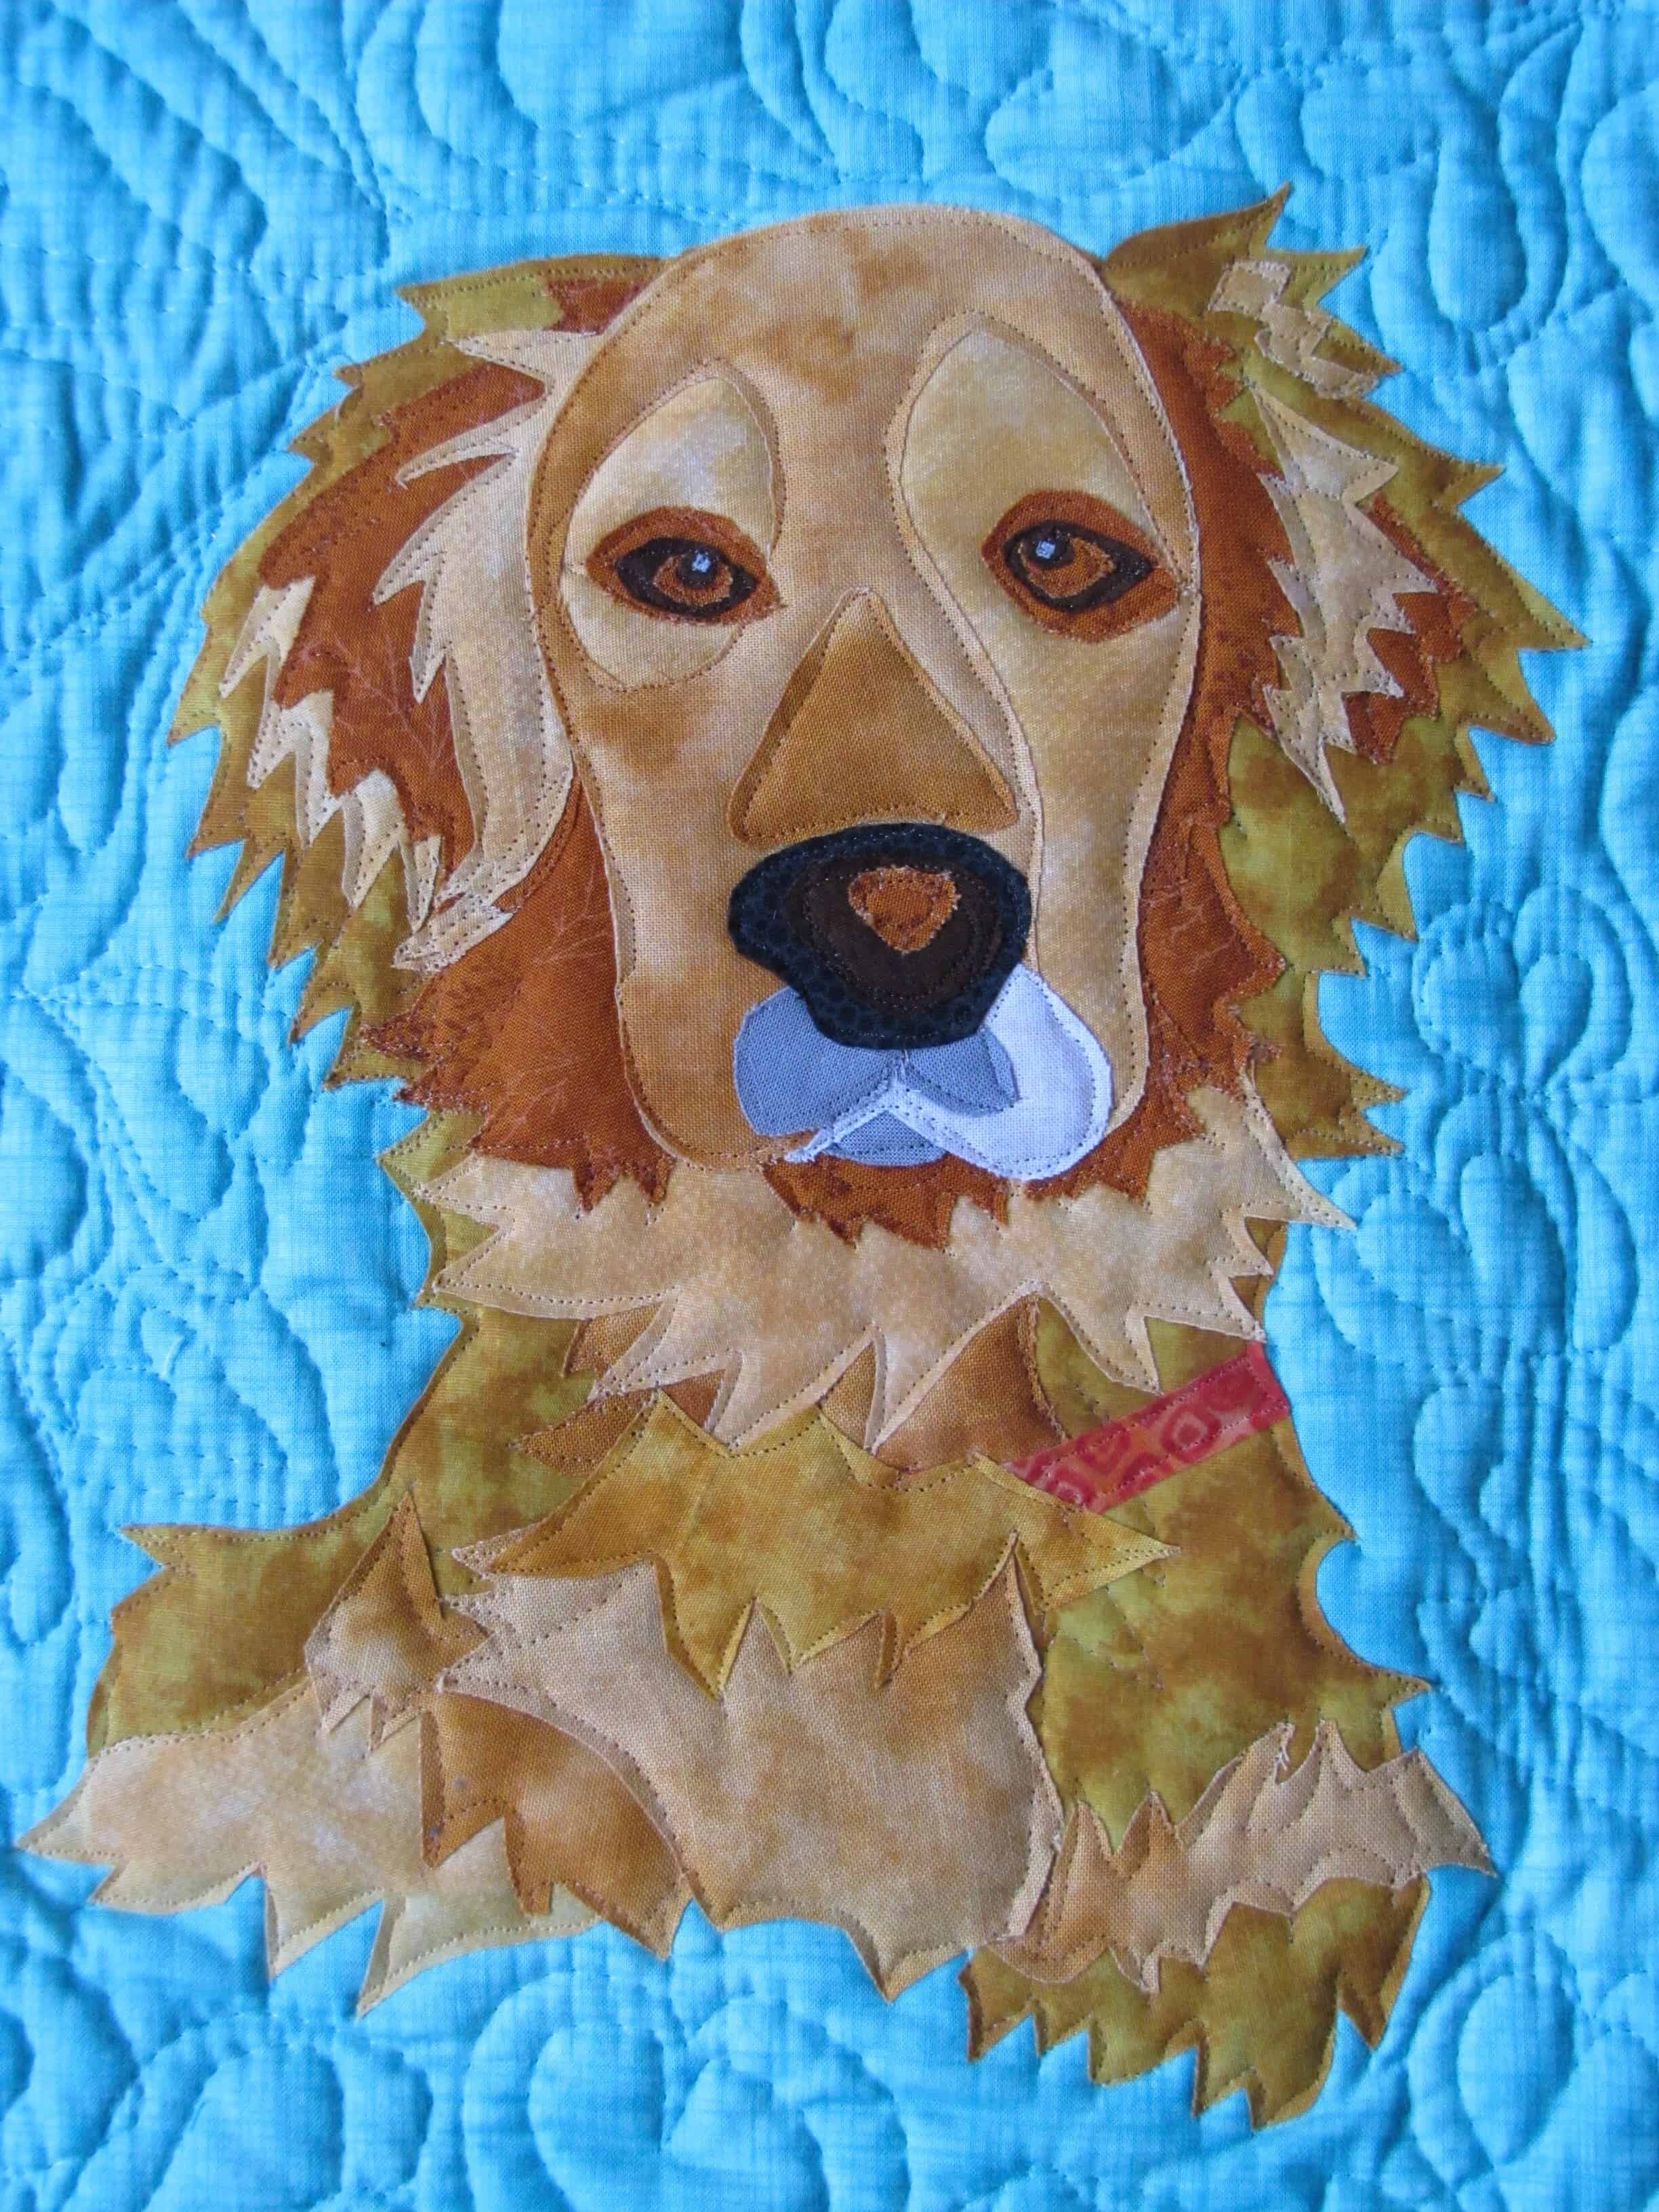
Sophie
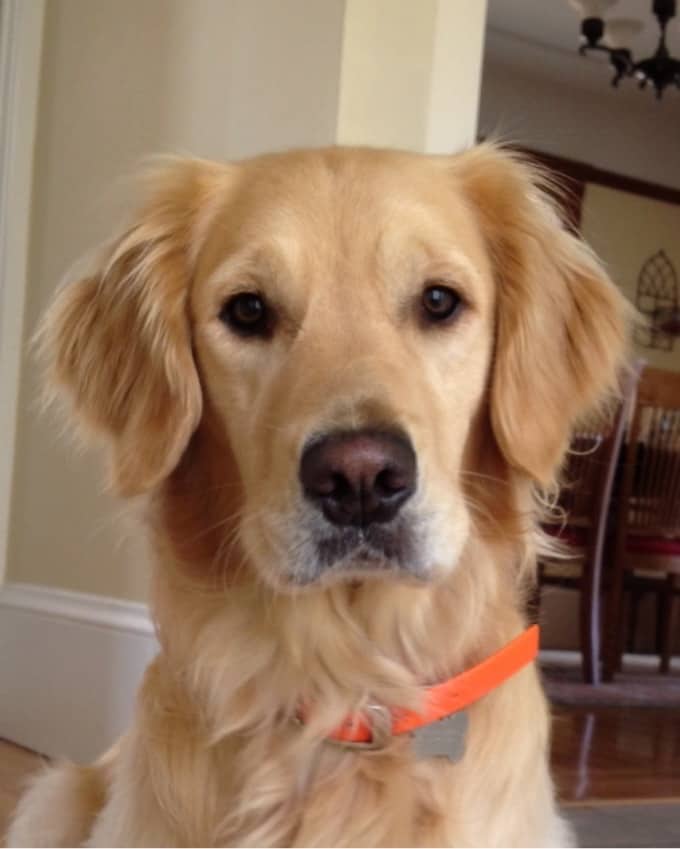
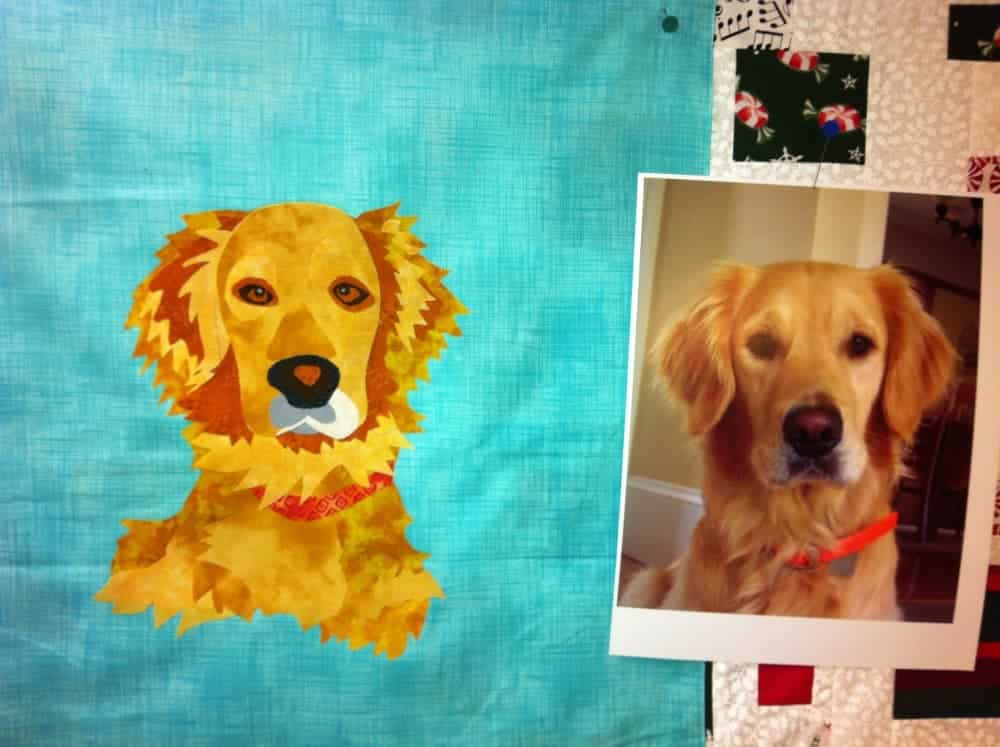
I start with a favorite photo of the dog – one that clearly shows the personality of the pup (or kitty). Make sure the photo shows detail in the eyes and contrast and detail in the fur.
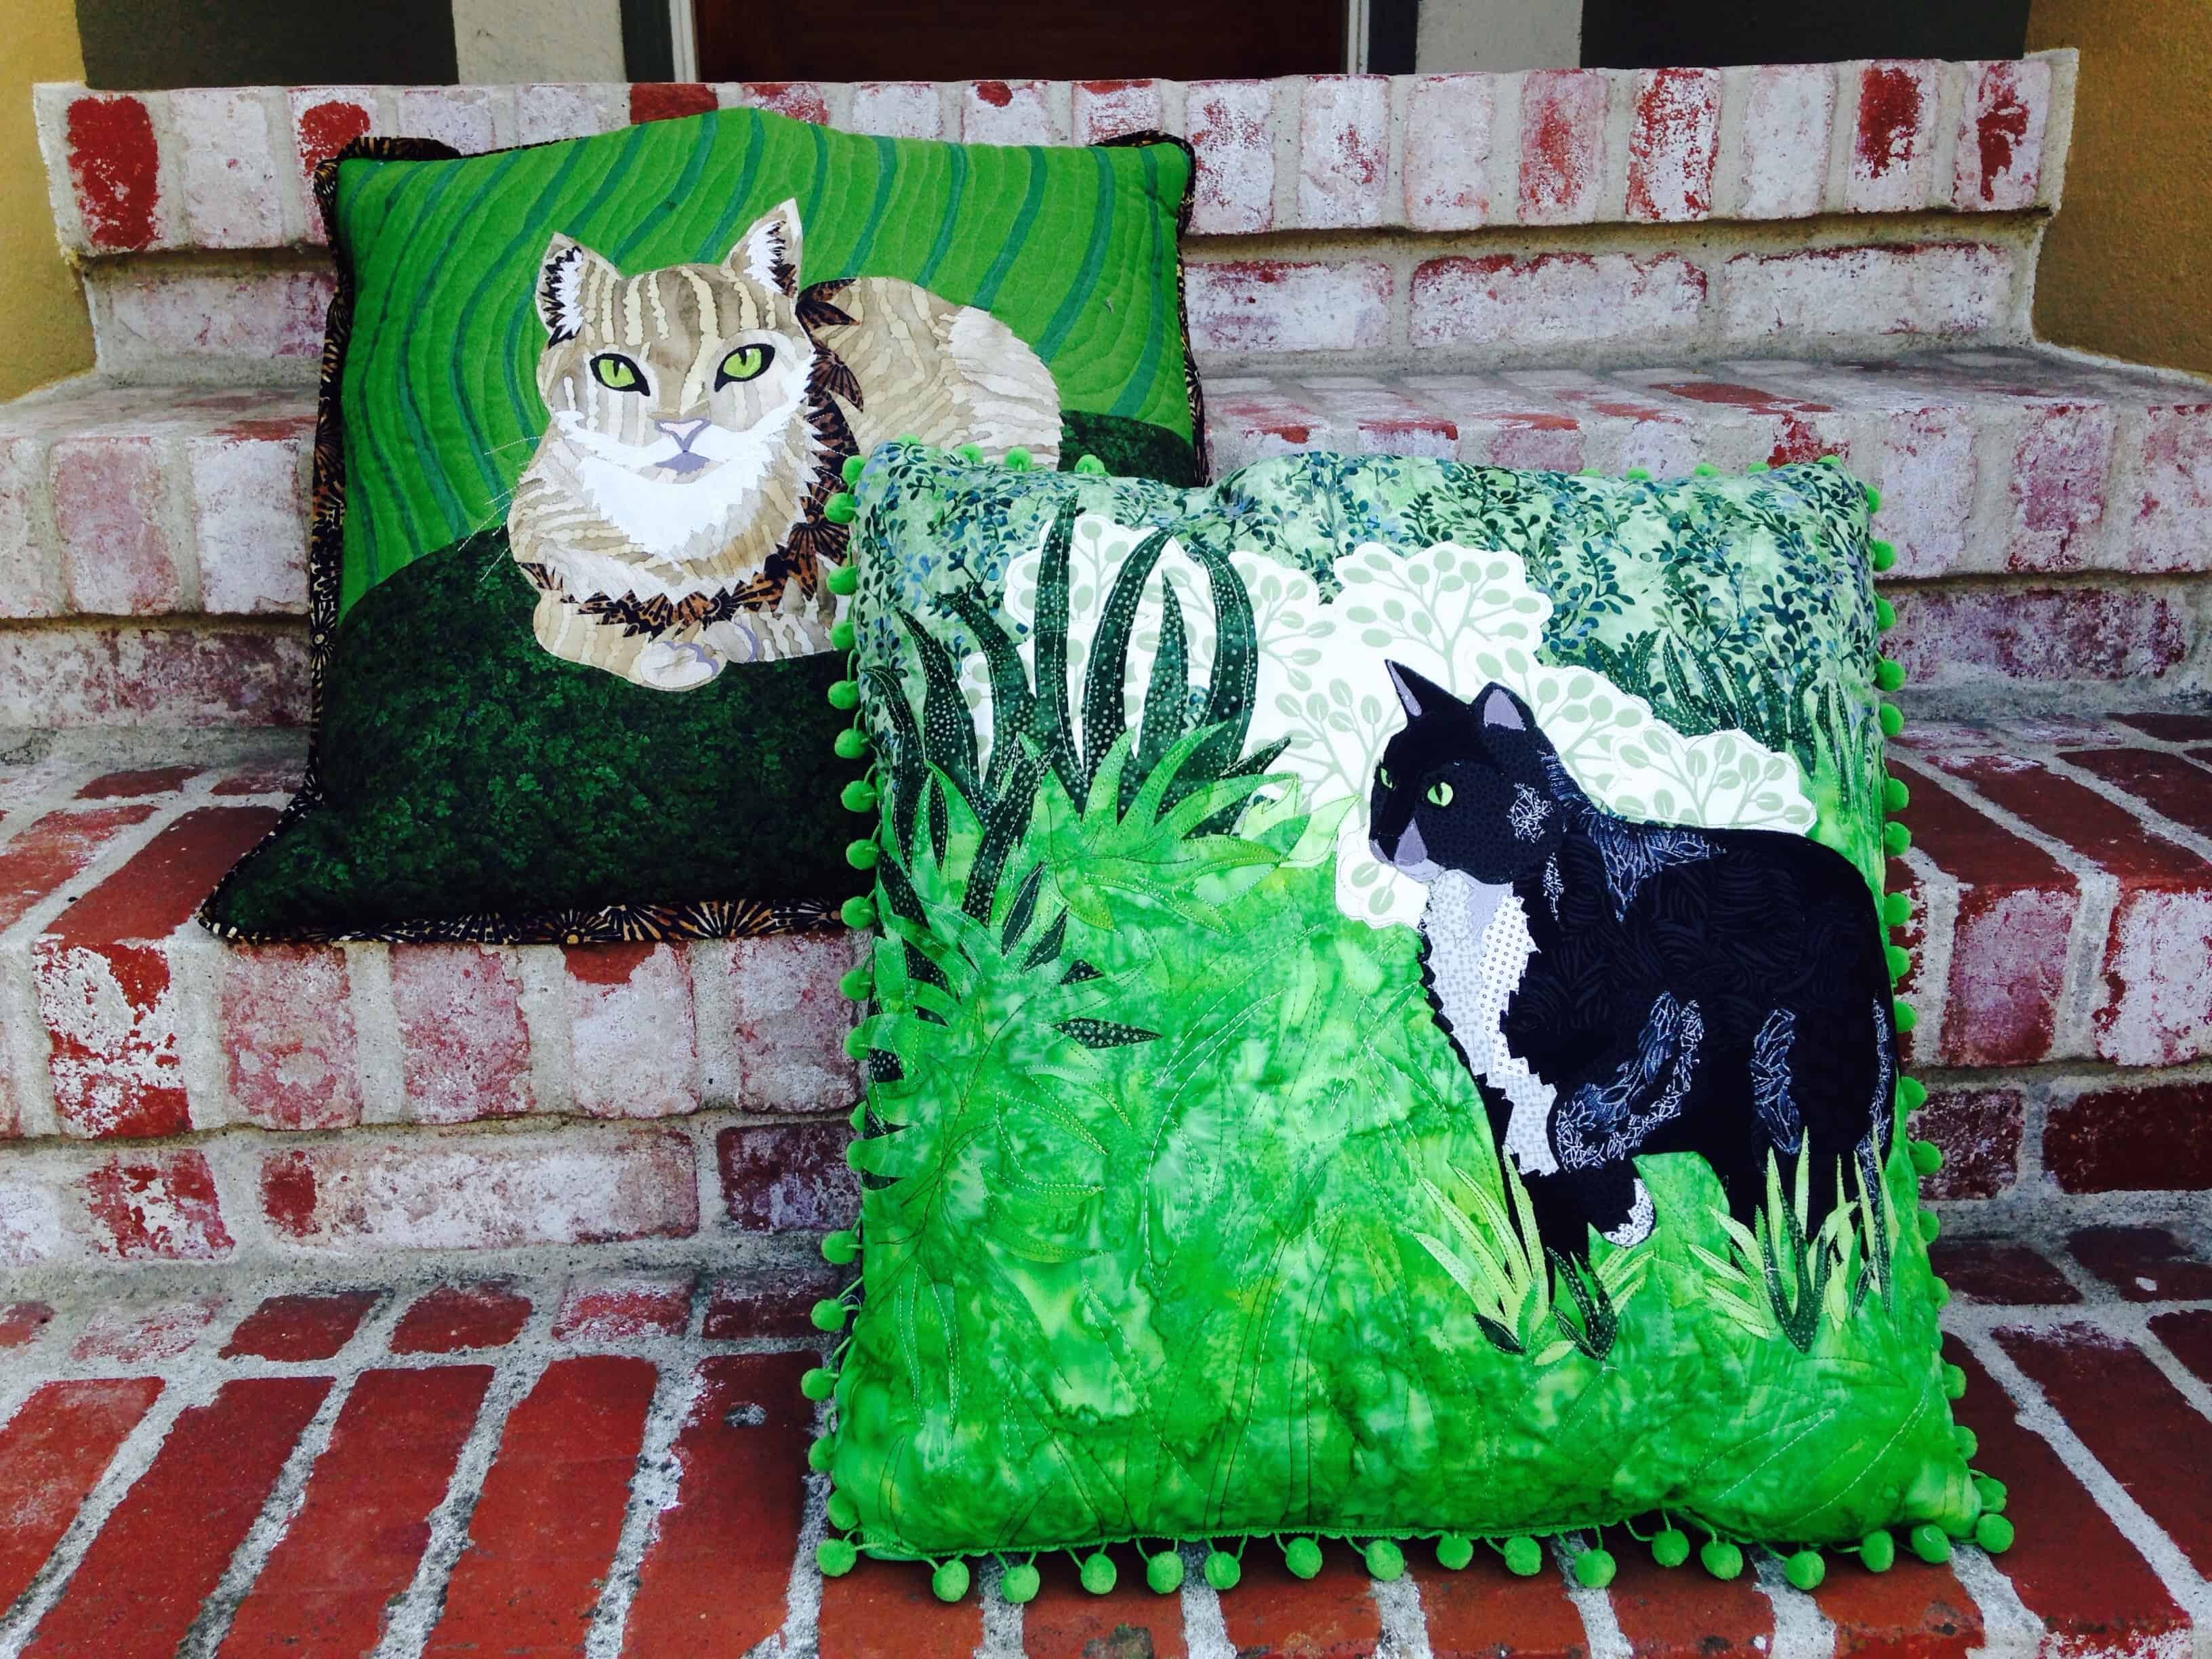
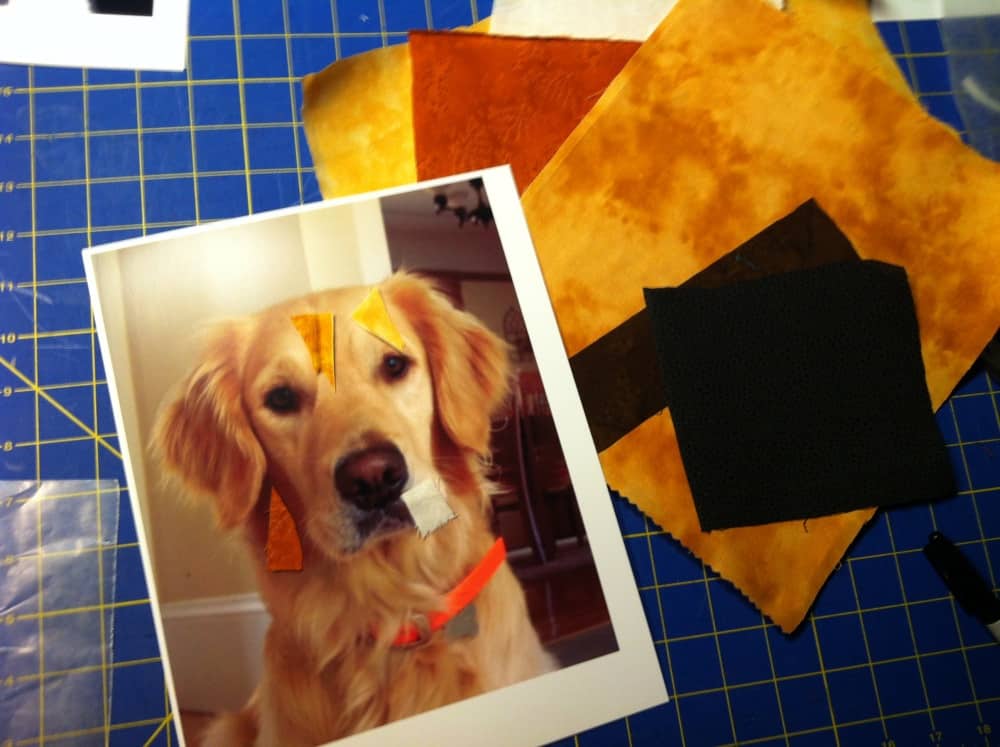
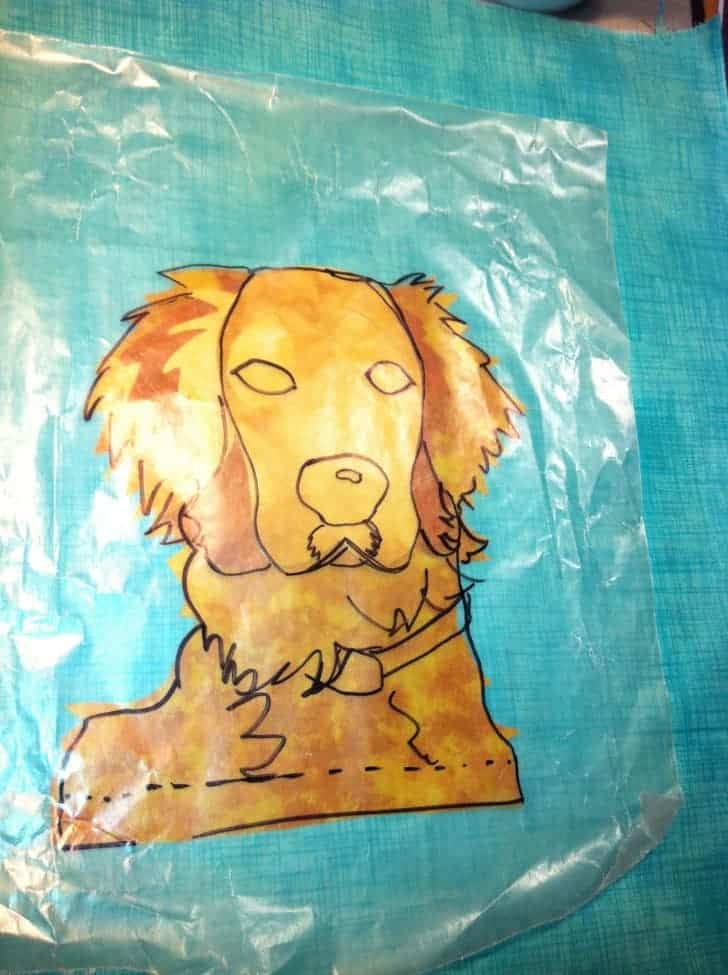
Next, let’s pick fabrics. In this case, I tried to pick fabrics that closely matched the color of the dog in the photo. For a more contemporary look, you can make it look more arty and go for saturated blues, reds, greens, patterns or whatever. I like using saturated colors with some texture or pattern in them to add interest – batiks or mixer fabrics work great.
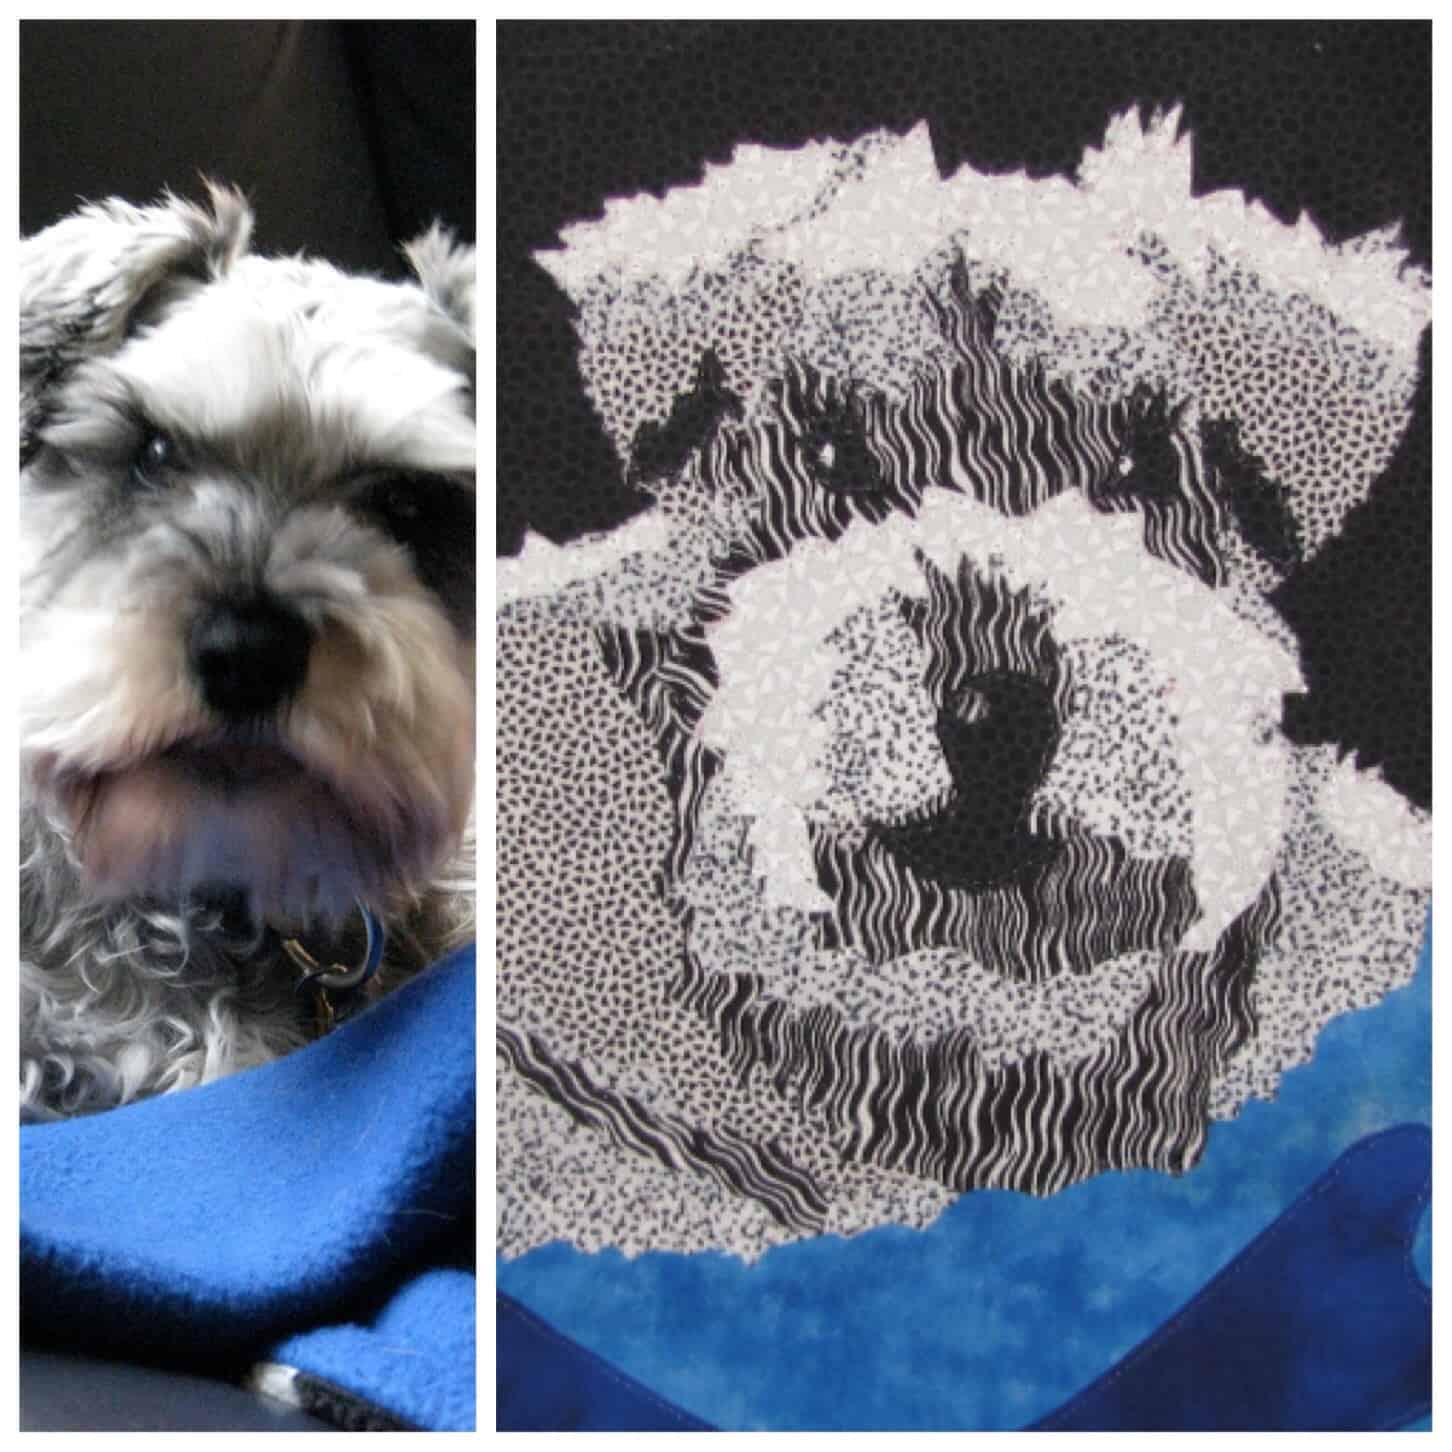
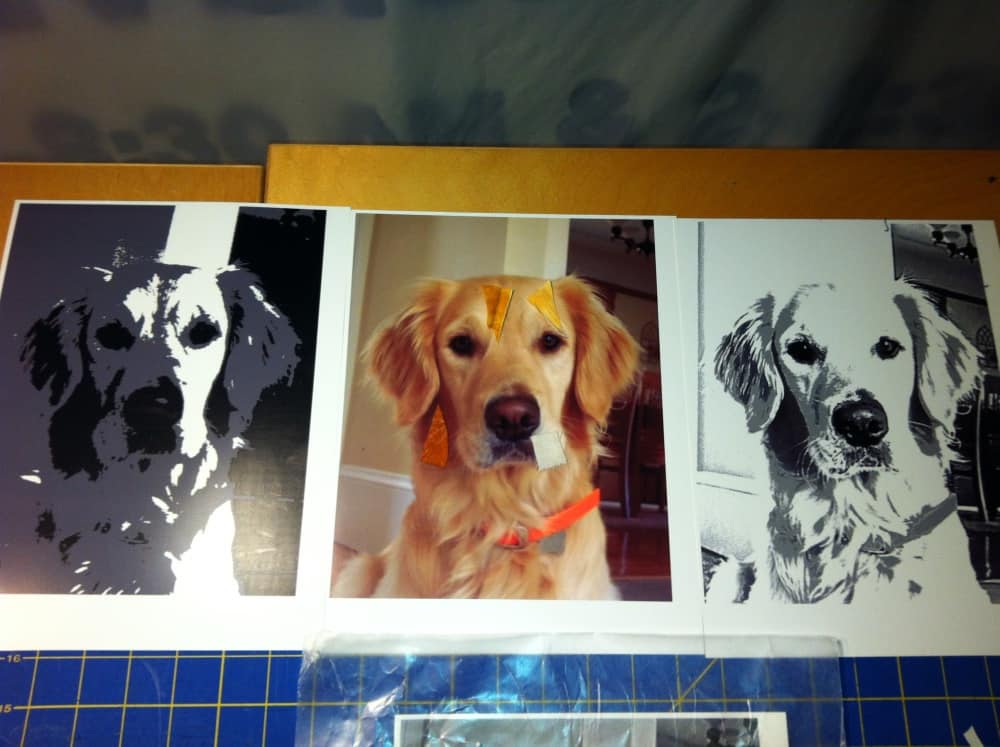
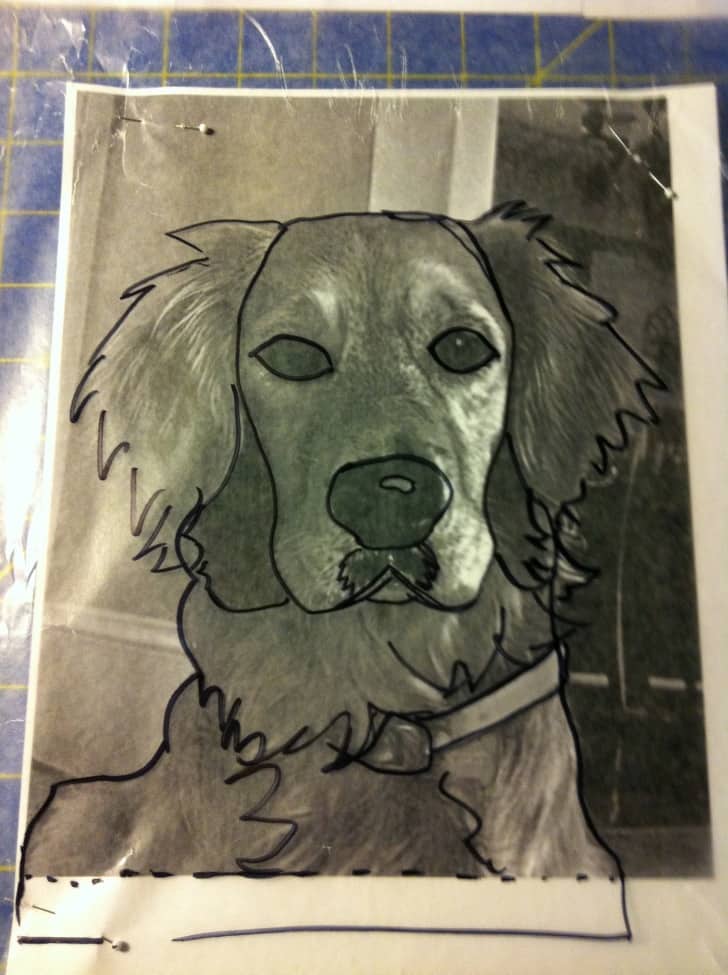
Enlarge the photo to at least 8×10, or take it to a copy shop to enlarge further. Play with the contrast so that you can get a few versions of a clear dark, medium, light outlines of the image. If you have Photoshop (or easy to download free apps on your phone), use the “posterize” feature to create clear contrast. For this, I needed a dark version for the “big” pieces, and a light version to help show the detail in the fur.
I use wax paper (instead of tracing paper) to create my templates. I start by taping a piece of wax paper over the image and using a Sharpie, outline the major shapes of the dog – head, ears, body, etc. This will be where you start to think of how to best piece the dog together. I often make several of these – one with detail – that I can cut out the pieces to use as pattern pieces – and one that I’ll use over and over that serves as the main piece that I will later add to with layers as I create the portrait.

Iron lightweight fusible paper-backed web onto the backs of the various pieces you’ll be using. Using the wax paper pieces. you traced, cut out the various pieces – ears, eyes, etc., and use these to tracks onto the PAPER BACK of the fabric pieces you’ve selected to use. Remember that you’ll need to make sure that the “right” or “top” side of the pattern you’ve outlined is up against the usable web paper you’ve ironed on your piece of fabric. I pin it to the fabric, then use small scissors to cut it out. In some cases, for tiny detail in the fur cut pieces, I’ll use an X-Acto Knife. I start with the main body, then add the bigger pieces in layers as I go. (Note: Don’t iron the dog onto the background fabric just yet – save that until later.)

To ensure that you match up placement of your pieces, use the overall template you’ve created to lay over the image before you iron down the individual pieces. I remove the fusible web paper backing from the pieces I’ve cut out, and place them on the face, then lay the wax paper transparent template over it to see if the placement matches. I usually iron the fabric pieces individually to make sure nothing moves (and that I don’t end up with a bunch of pieces ironed down and fused in the wrong place.)
Once I’m pretty far along – often after I’ve mostly completed the whole dog portrait – I’ll iron the final image on the background fabric.
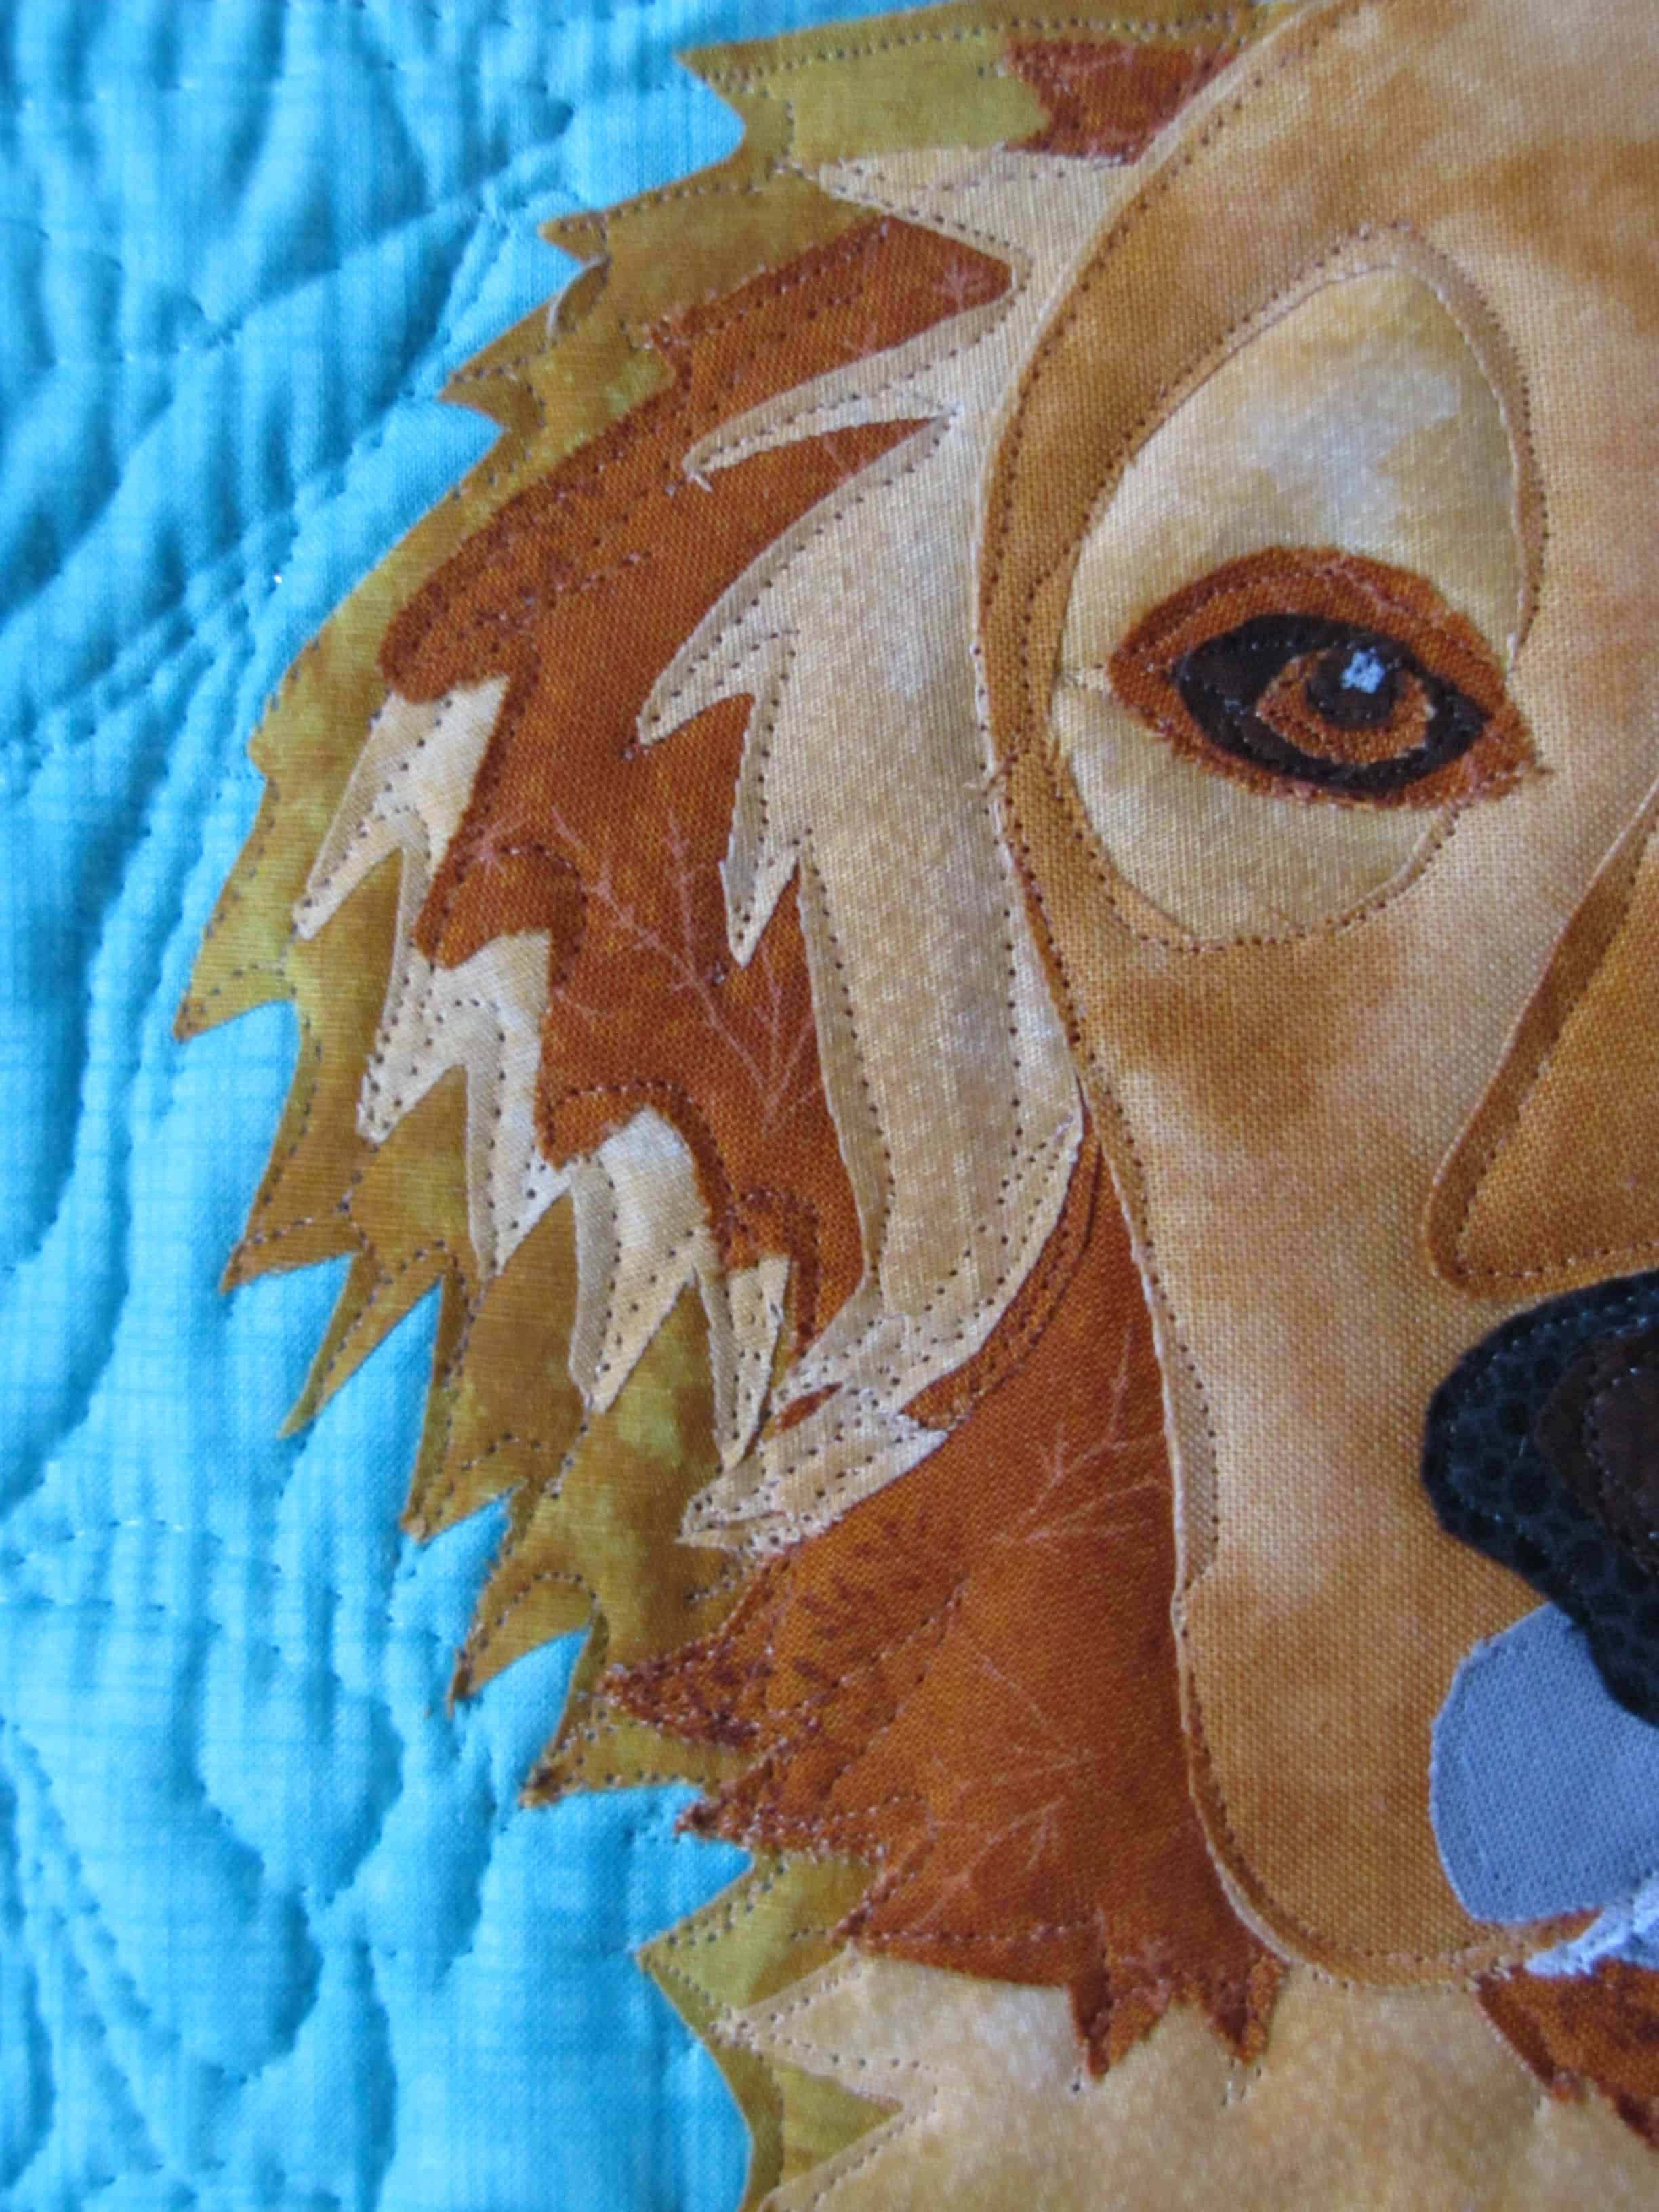
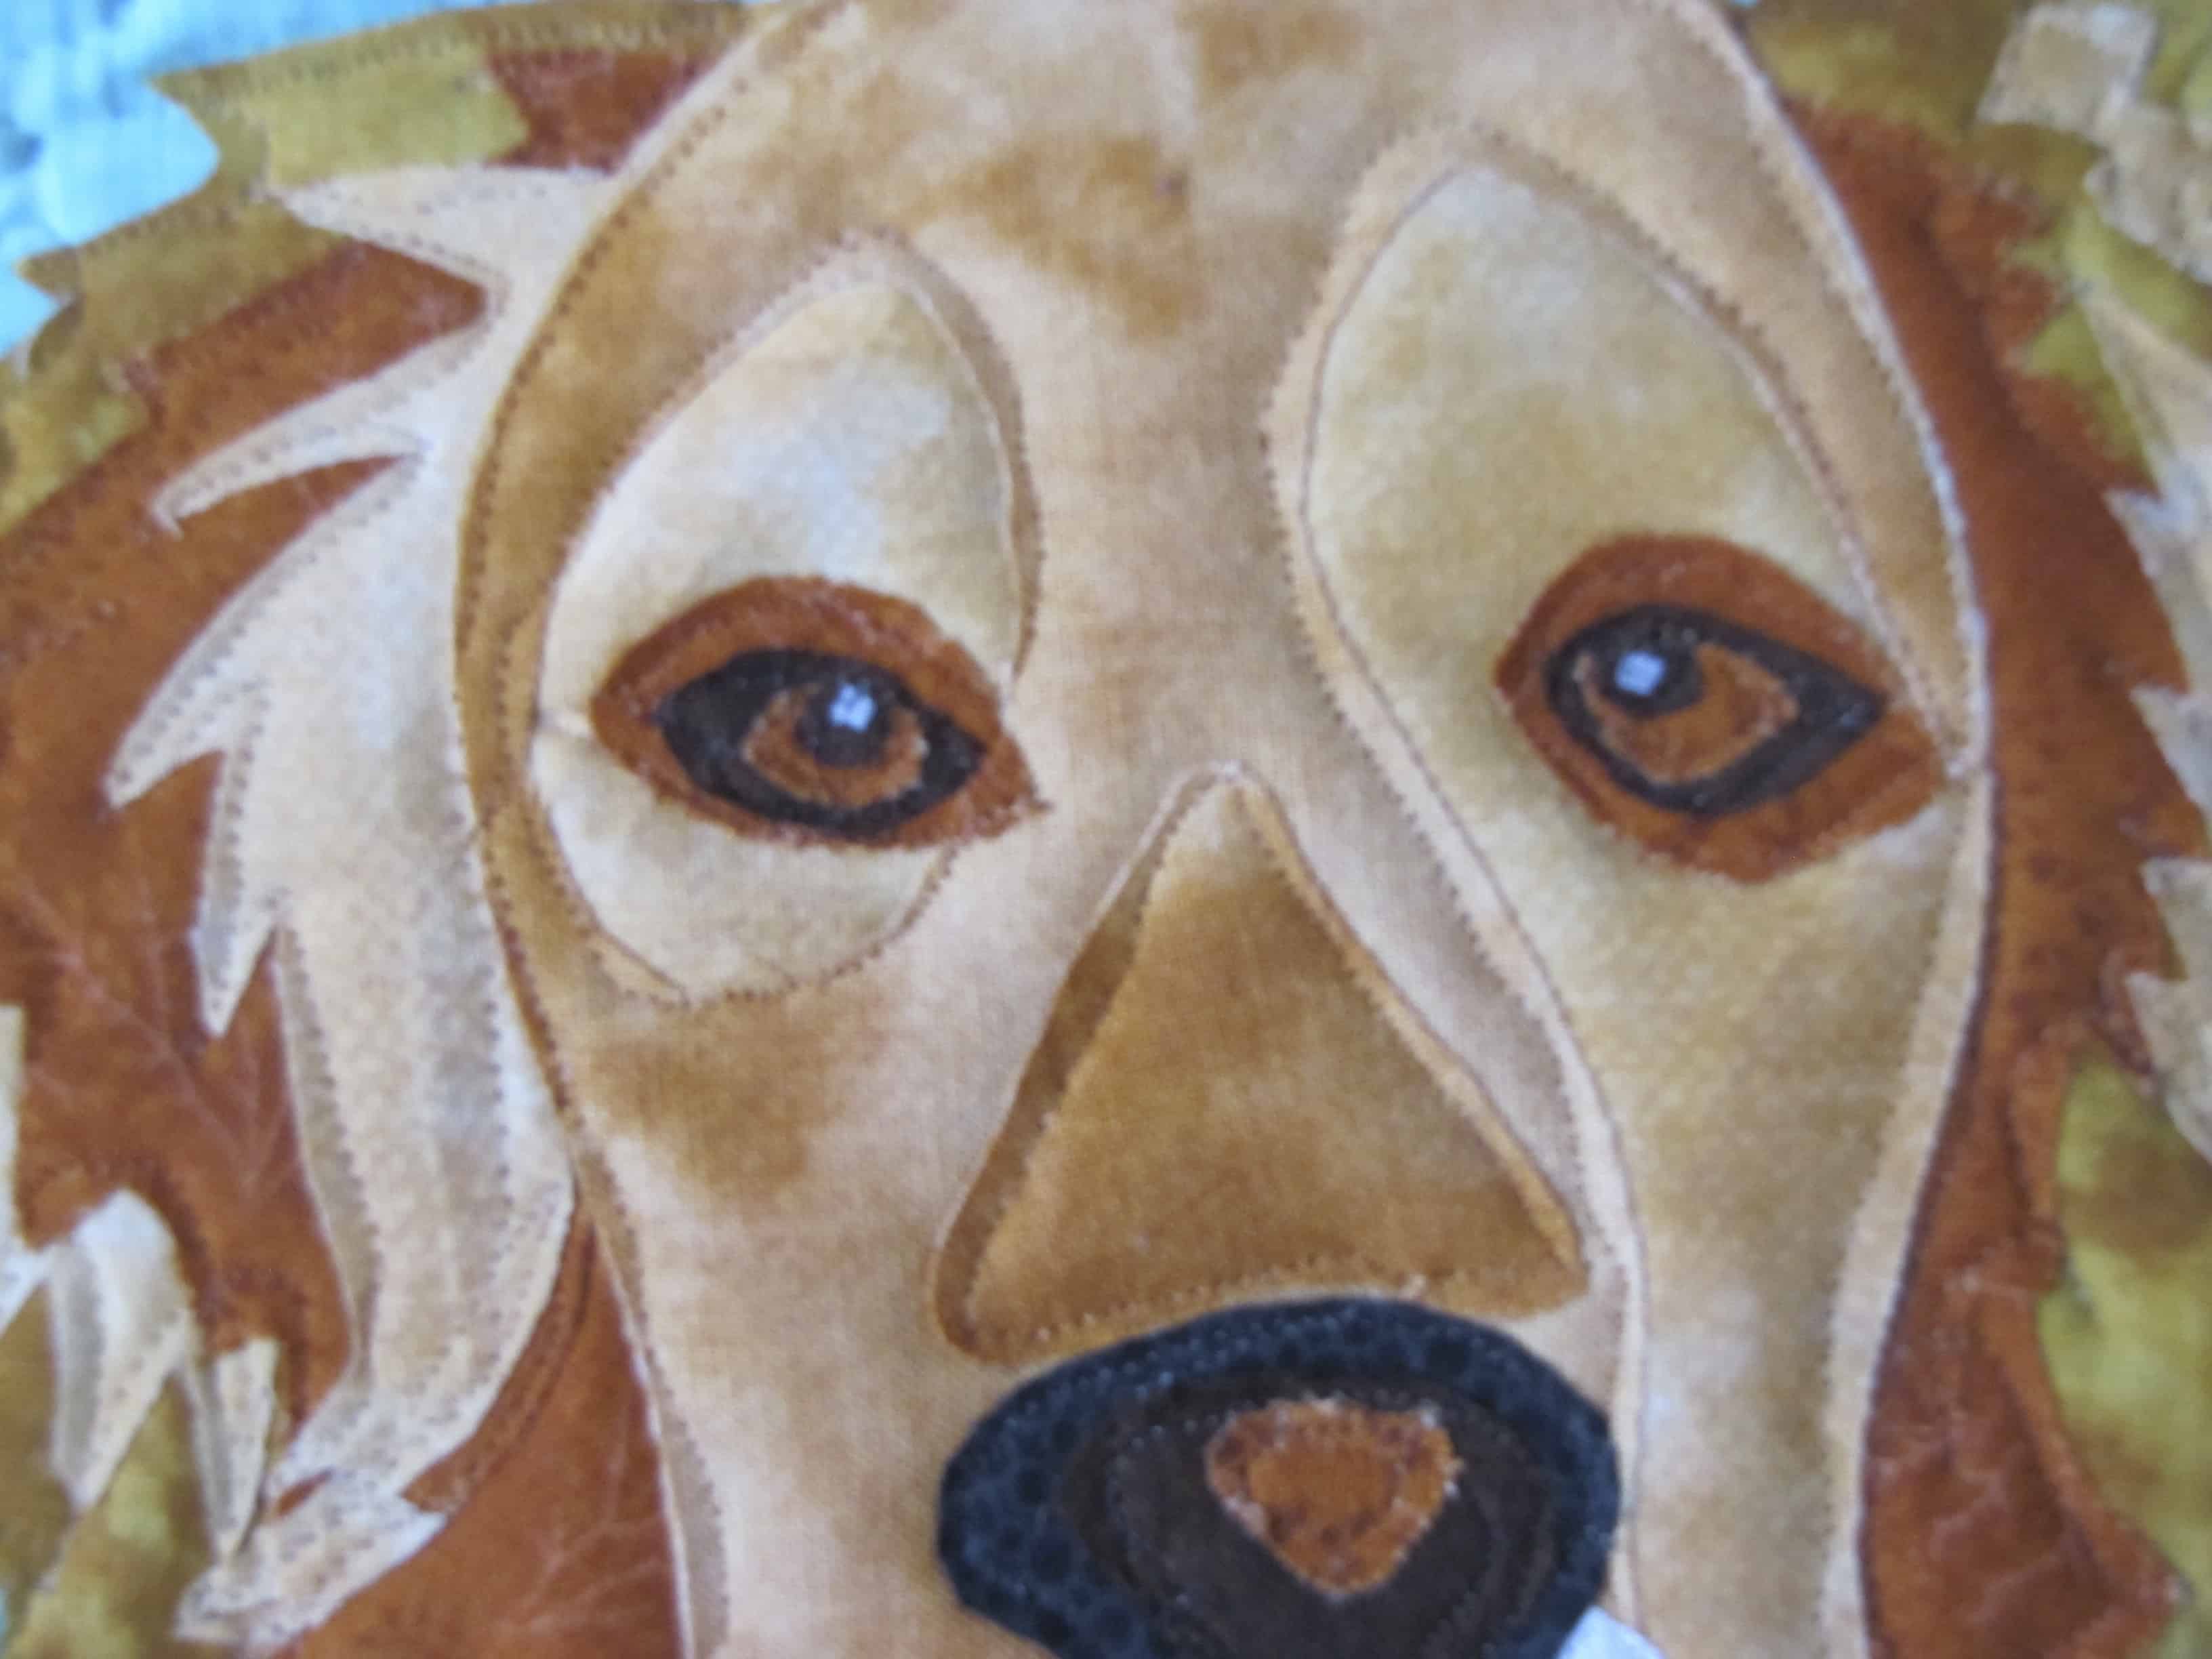
For detailed elements – like the eyes or details parts of the nose and mouth – I create them as separate pieces before ironing them onto the main body. I usually try to complete both eyes at the same time and make sure they look correct together before ironing them down. It is not unusual to have to toss one out and start over to get a matching set of eyes that I feel look right. These close ups show the eyes and detail photograph after I finished and quilted the rest of the piece, but you can see how I layered the face pieces to get contrast in color to highlight shapes, layers of fur, and the eyes.
Once all is where I wish it to be, I make the fabric sandwich with the portrait top, batting and backing and quilt as you would any other quilt. I quilt around the edges. I used invisible thread for this one. I also added a second layer of batting to just the head piece to make it “pop” a bit from the background.

Note that with the fusible fabric layers, the result isn’t a soft, cuddly quilt. It can be washed and dried (after the first wash I’ll pop in the dryer, but after that will usually hang dry it after washing.) It’s great for pillow or wall hangings!

Enjoy making your own portraits of your furry friends!