One of the things I love is creating quilts from the clothing of loved ones. It’ a special honor to make something as a treasured memorial for a family. I recently completed this commission for a family from the clothing of a beloved father, husband and grandfather who passed earlier in 2022. I wanted to document the creation of this piece, and also show how others can use clothing to create quilts. The finished piece was a double-sided quilt measuring 71″x69″.
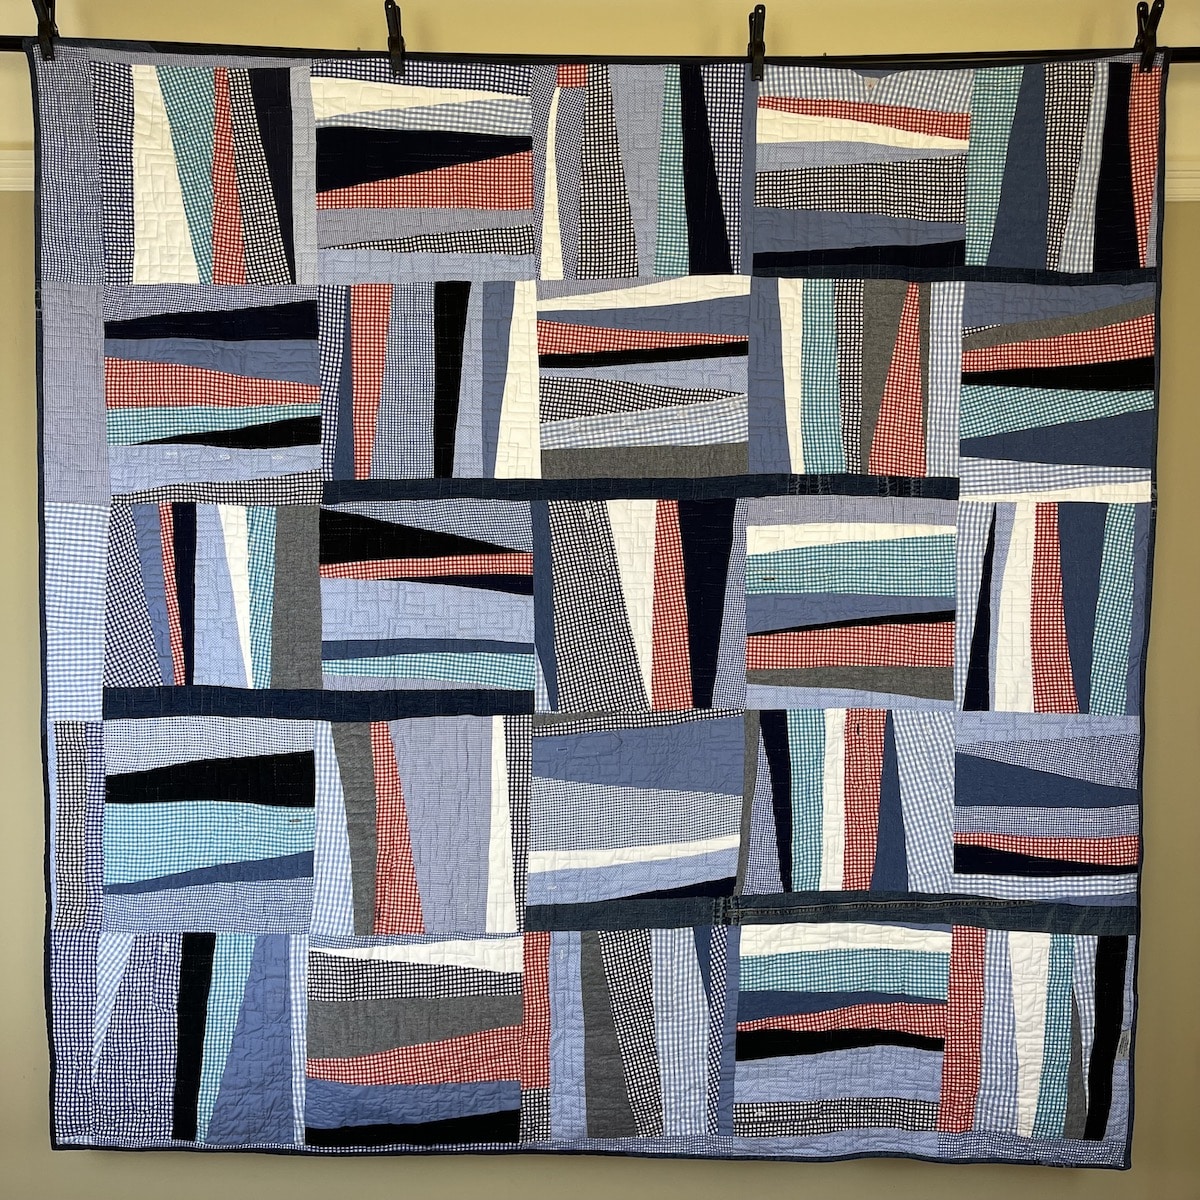
Block side – created first and originally thought of as the front
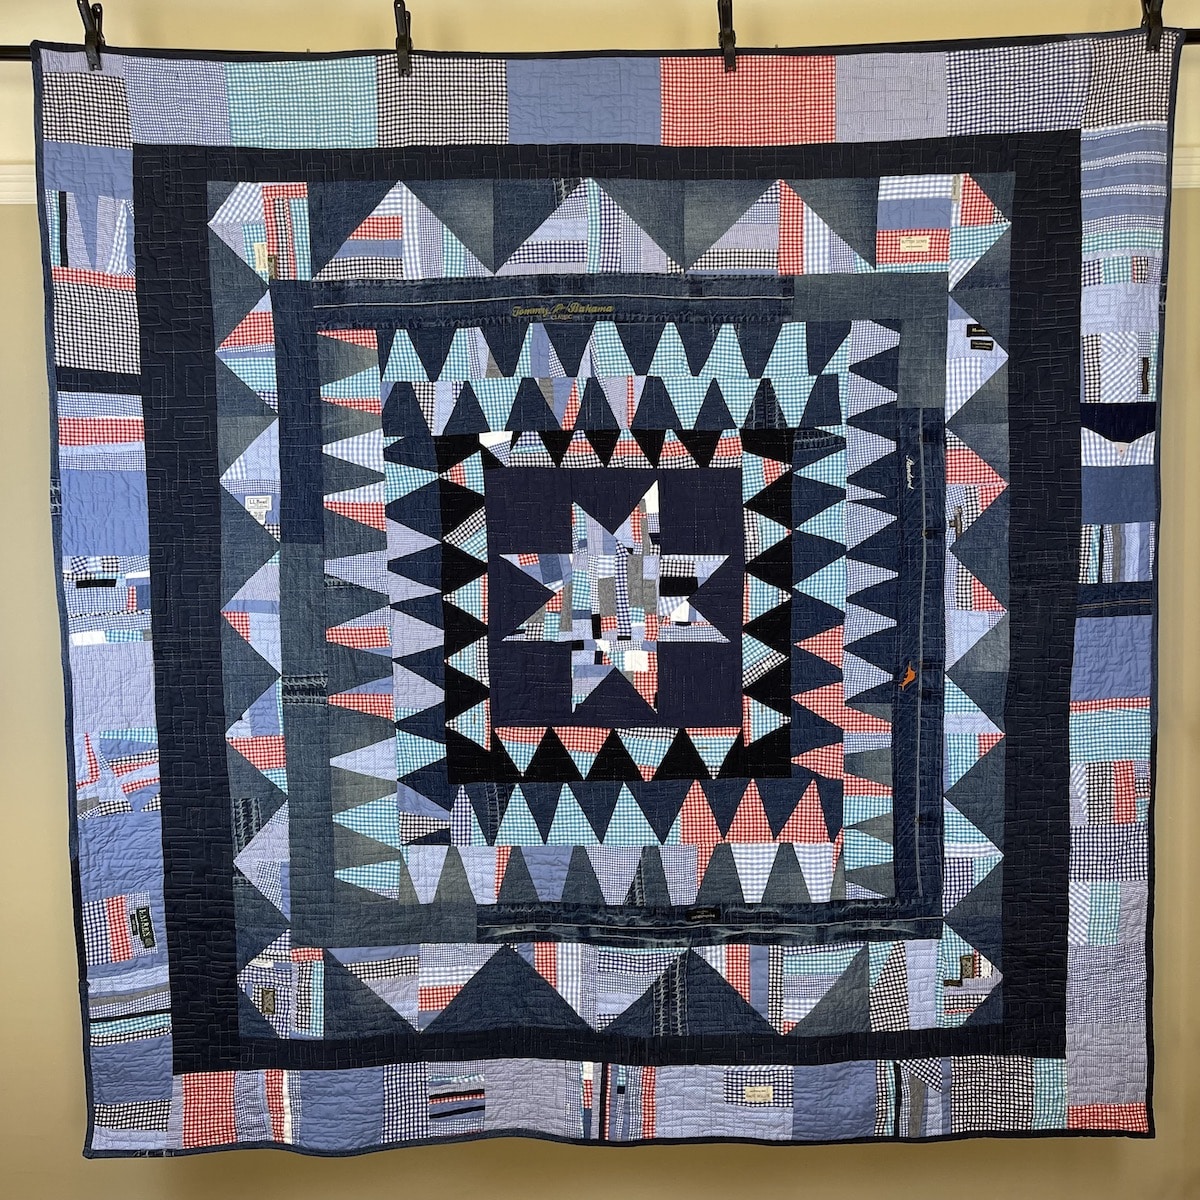
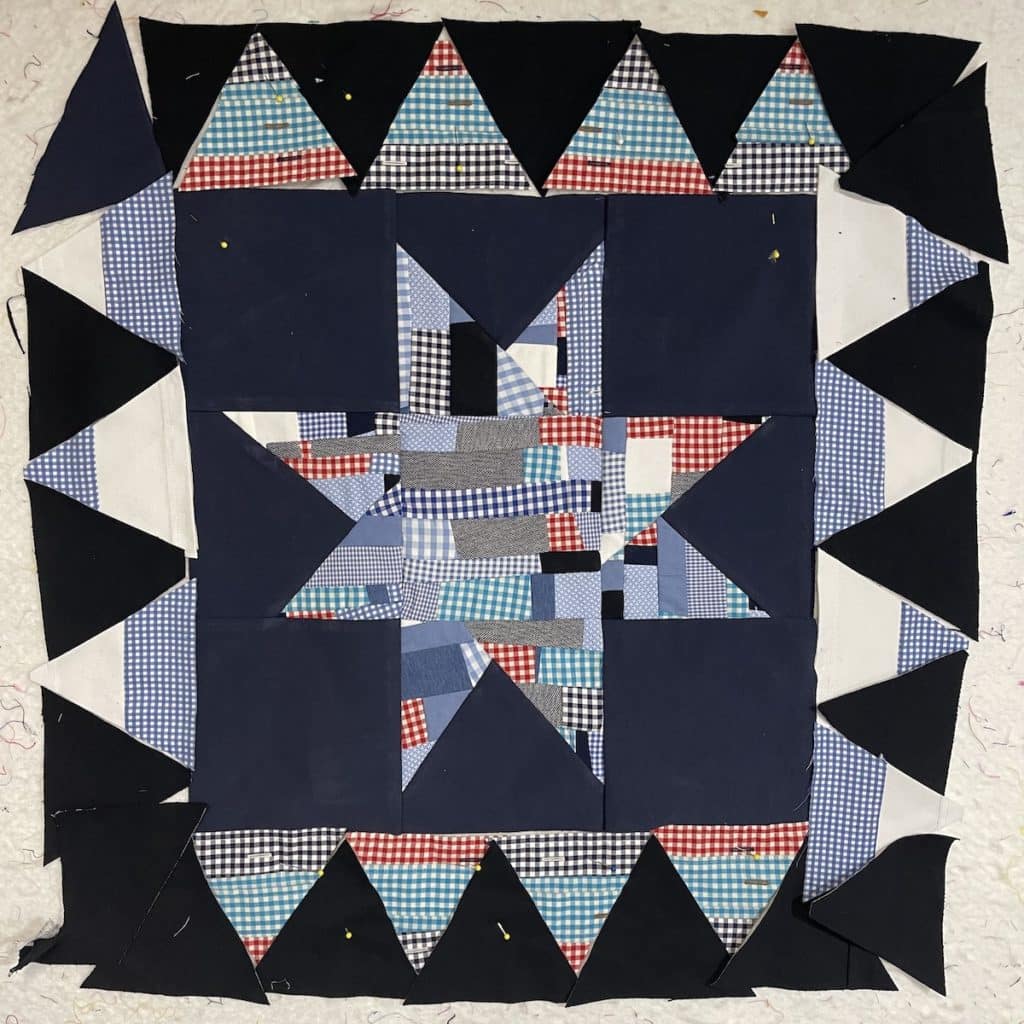
Star medallion side – made last as the back side
I was given many button-front shirts, several knit polo shirts, and 2 pairs each of jeans and navy slacks. A challenge was how to create visual interest with the shirts, most of which were gingham and a similar shade with little dark/light contrast to each other. I used the solid knit shirts (navy, black and white) to create contrast with the gingham shirts, and later, the jeans and pants.
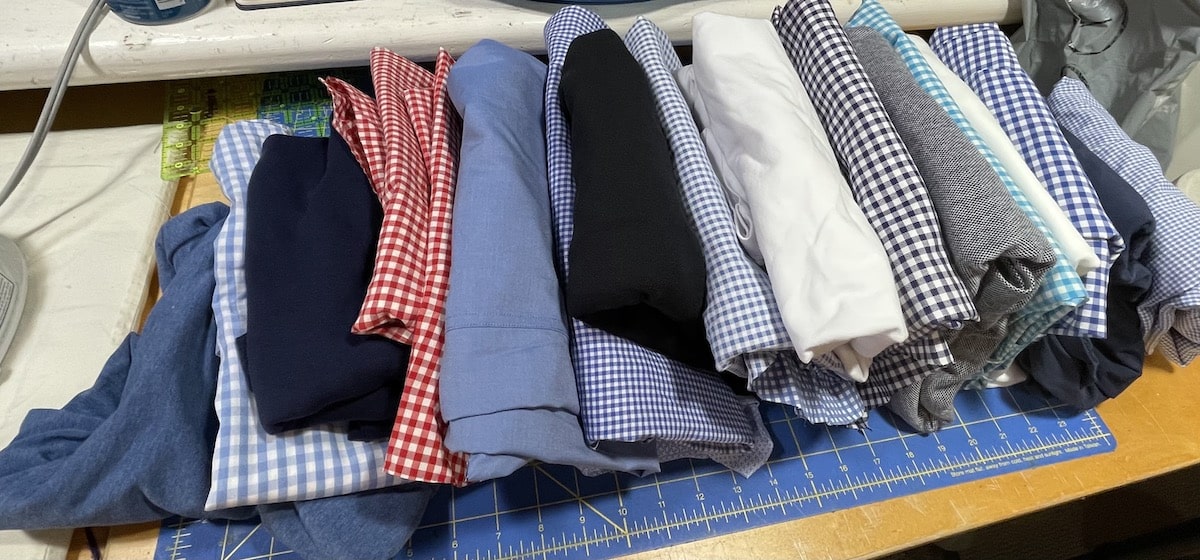
One of the most time consuming tasks in this project is disassembling the shirts and pants – cutting up the clothing to create large pieces to cut from, removing buttons, and saving all small pieces to make smaller parts. At least 40% of the time making this quilt was simply taking apart and preparing the clothing for piecing. (There are lots of great tutorials out there on how best to cut up shirts and pants to get the most fabric out for use if you’re interested.) For the knit shirts, I ironed a fusible webbing on the back to stabilize the fabric and make it easy to cut and manage.


I started by taking the sleeves of the shirts and making large “wonky” blocks, adding in the knit fabrics to create contrast. Each block measured 15″. I liked that idea so ran with it.
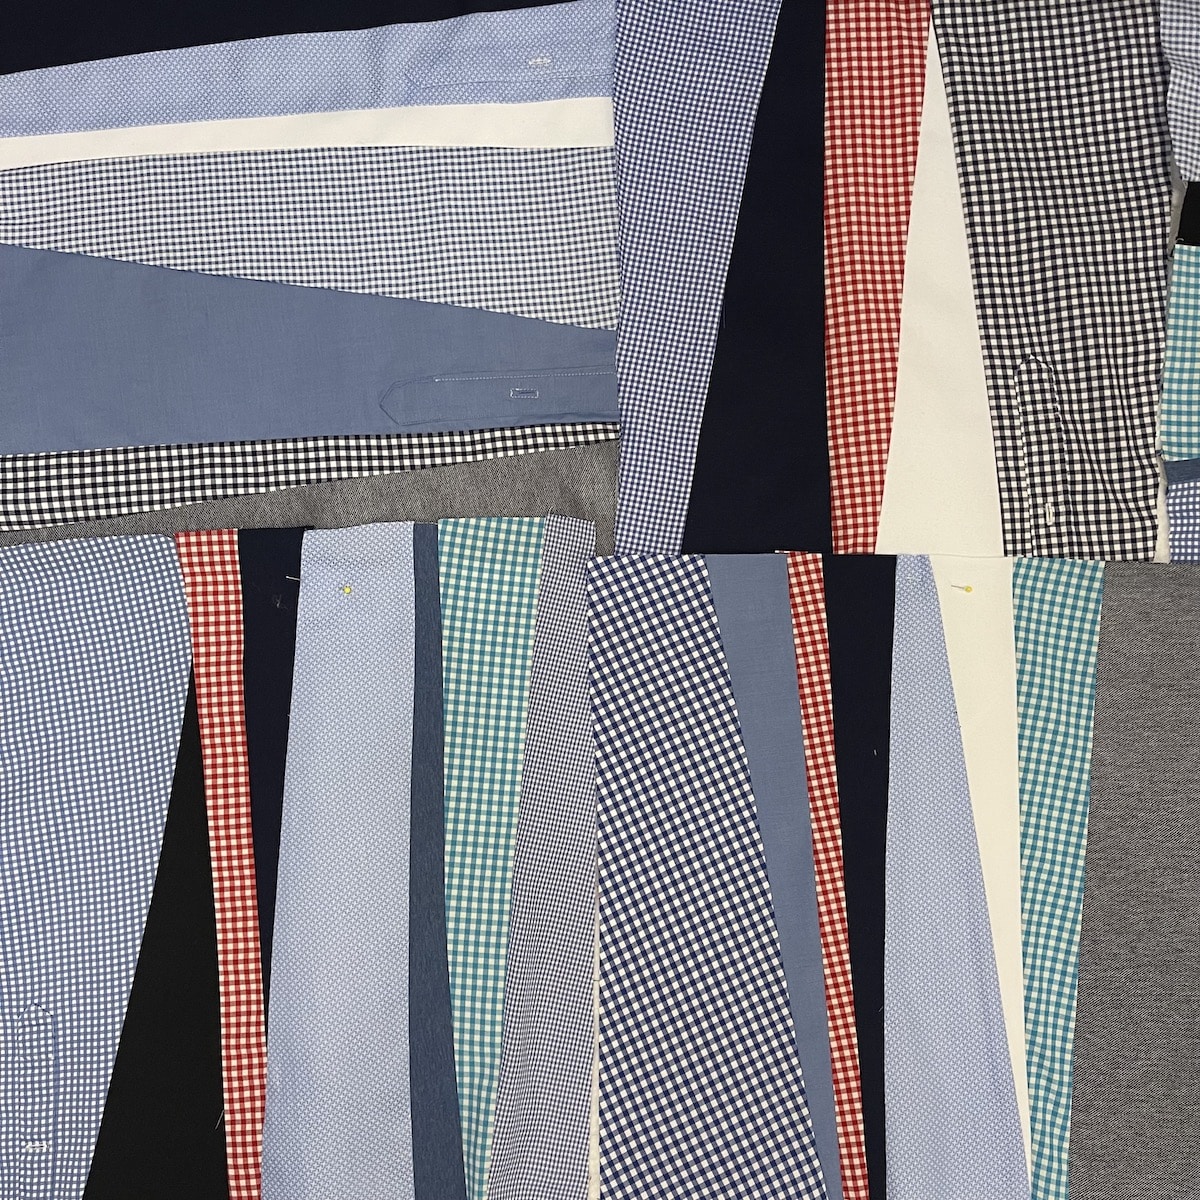
I made 20 of these blocks, put them up on the design wall and looked at it – literally – for months. Truth be told, I was very stuck and wasn’t sure what to do next. My default in this case is just to start sewing smaller pieces together that were similar sizes. I made a lot of those in strips of various sizes and stuck them up on the design wall. I still had tons of fabric left, and had yet to touch the pants.


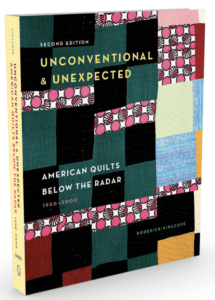
But when stuck, think about it and turn to sources of inspiration for ideas. Fortunately, that came in with the arrival of my personal copy of Roderick Kiracofe’s book, “Unconventional & Unexpected: American Quilts Below the Radar 1950-2000”. Flipping through the pages jump started me and I suddenly had lots of new ideas on how to tackle the second part of the quilt.
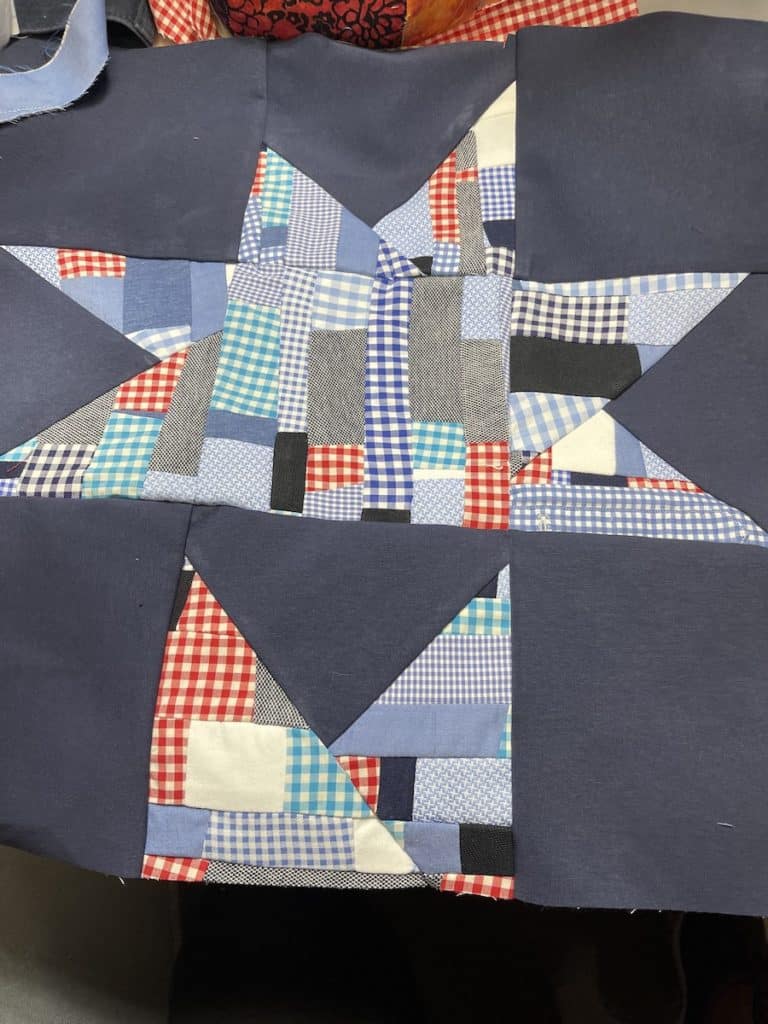
I started by making a center medallion star from the many tiny scrap pieces and strips I had from cutting up the front blocks and that wanted to make sure were put to use.
Oops! Everyone makes mistakes. The seam ripper is my favorite tool.
Once corrected, I like where this is going.
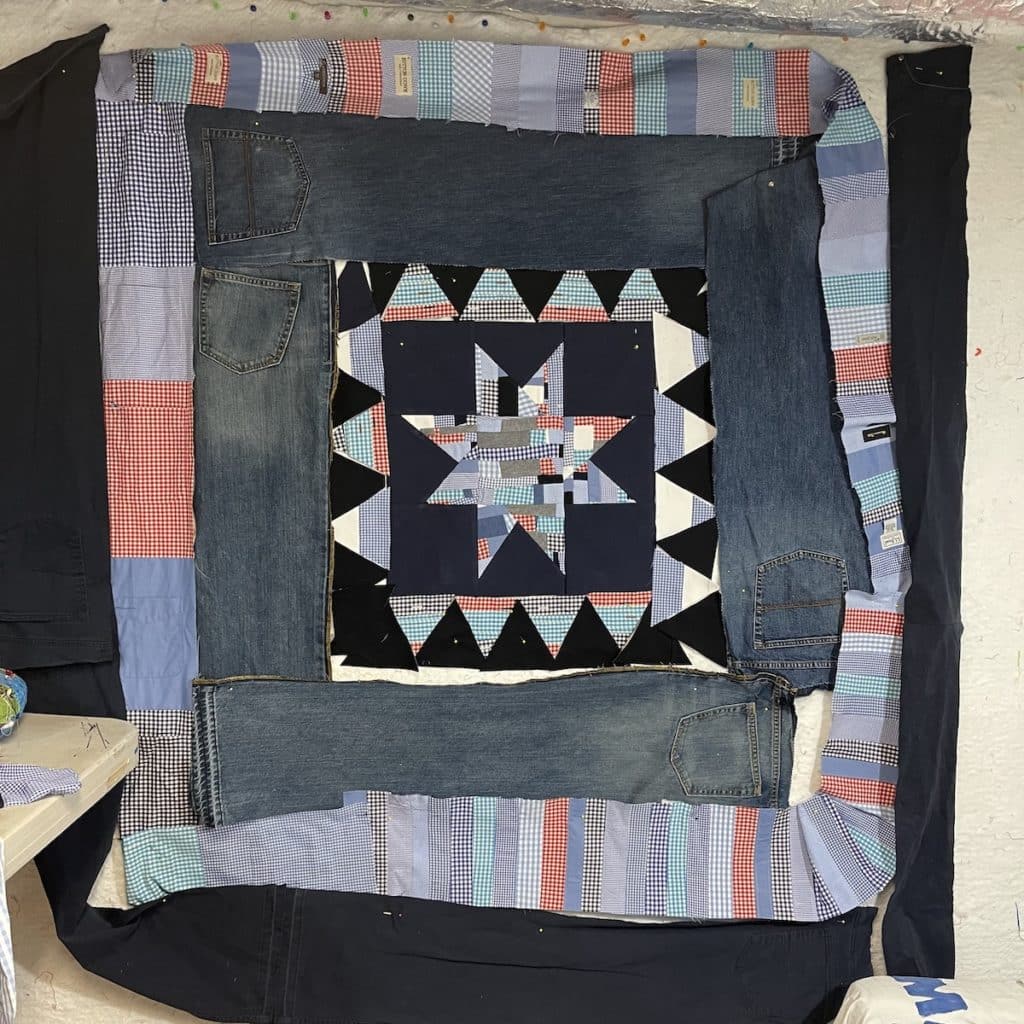
Mapping out the jeans and pants to see if I have enough fabric to go for this idea.


Another terrific source of inspiration and “how to” is Sujatah Shah‘s book, “Cultural Fusion Quilts: A Melting Pot of Piecing Traditions“. She gives so many terrific ideas on how to create these types of pieces in a simple, freeing way (I love her wonky, uneven style that shows it is made by hand, by a human!).
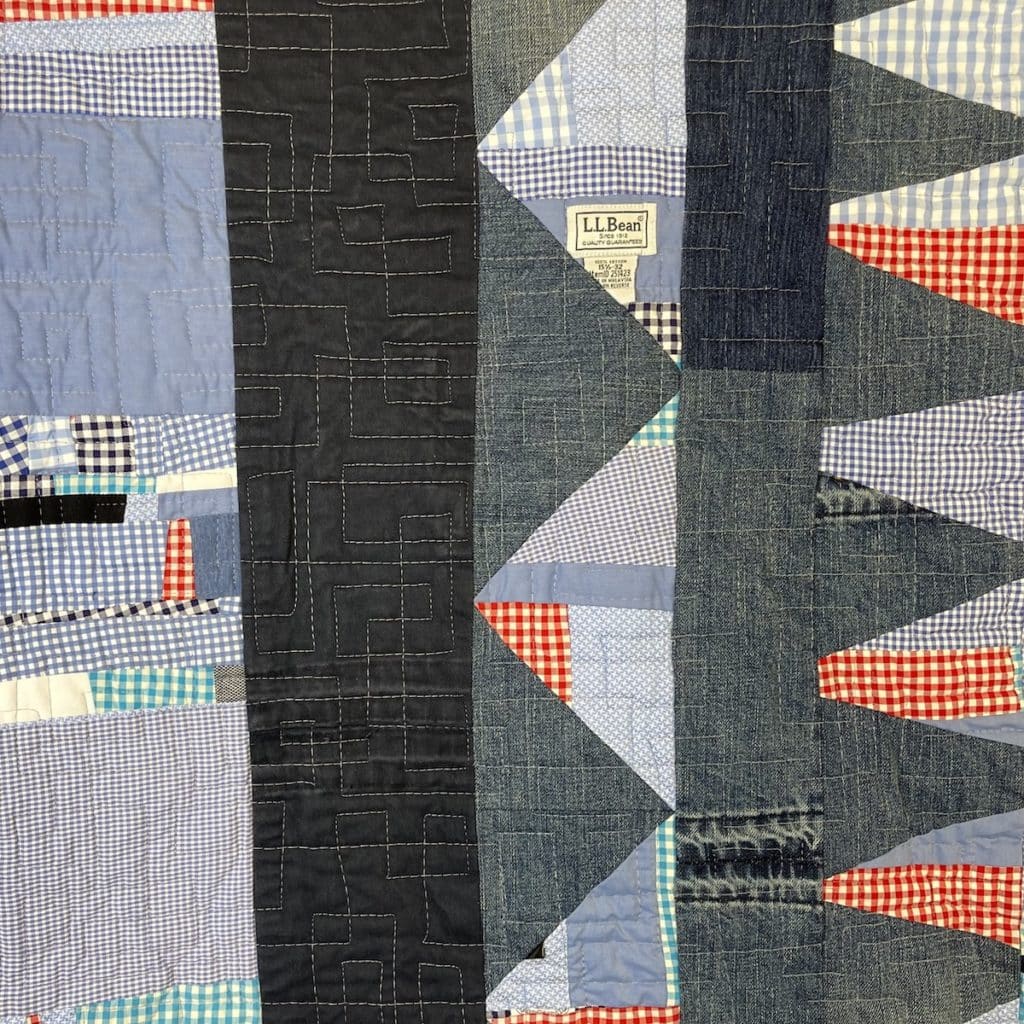
I wished to feature as many elements of the clothing as possible – the labels, the buttonholes, the inside embroidery of the brand. I was especially touched seeing Mr. Hoel’s name written on the label from their dry cleaner.


I was very pleased with the final result of both sides of the double-sided quilt.
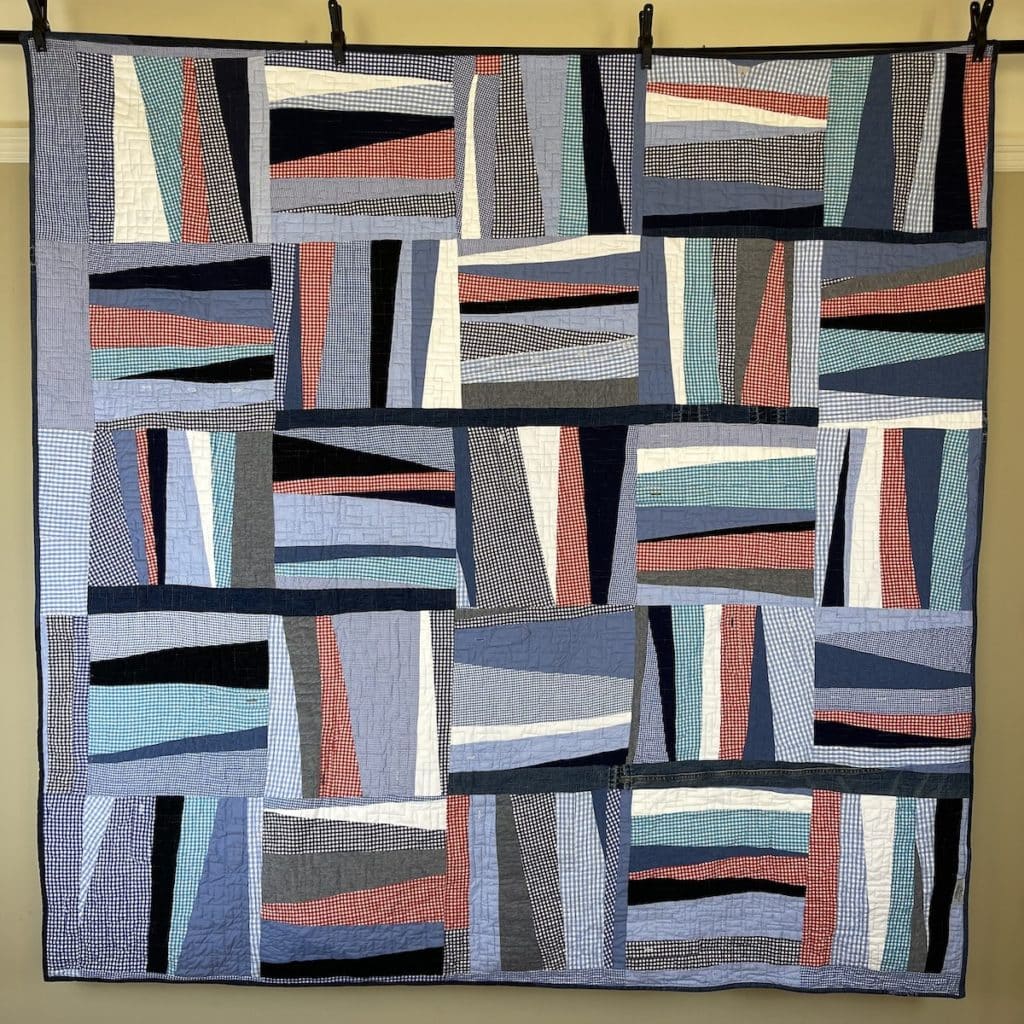
Front
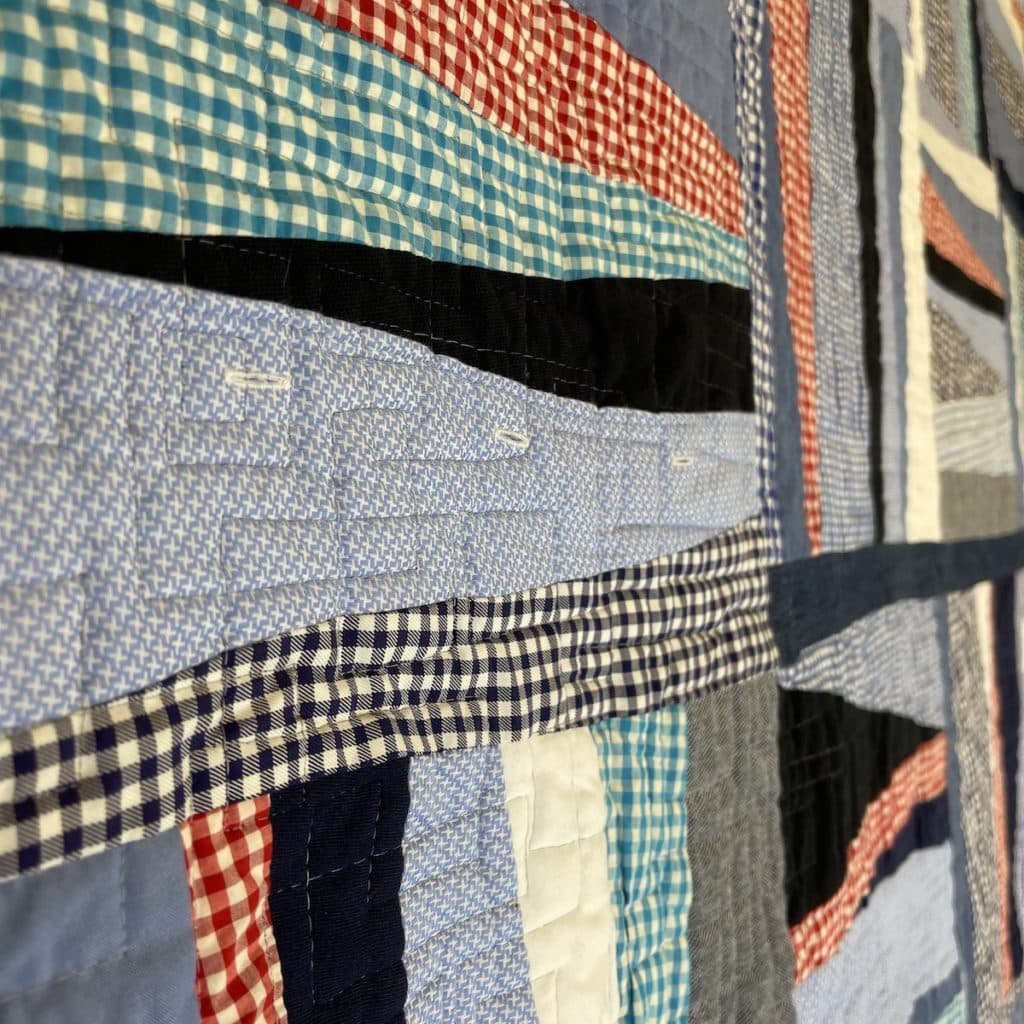
I wished to feature parts of the shirt, such as the buttonholes down the front of the shirt.
I used the shape of the sleeve as the basis for the front blocks, and made sure to keep the cuff buttonholes visible wherever possible.
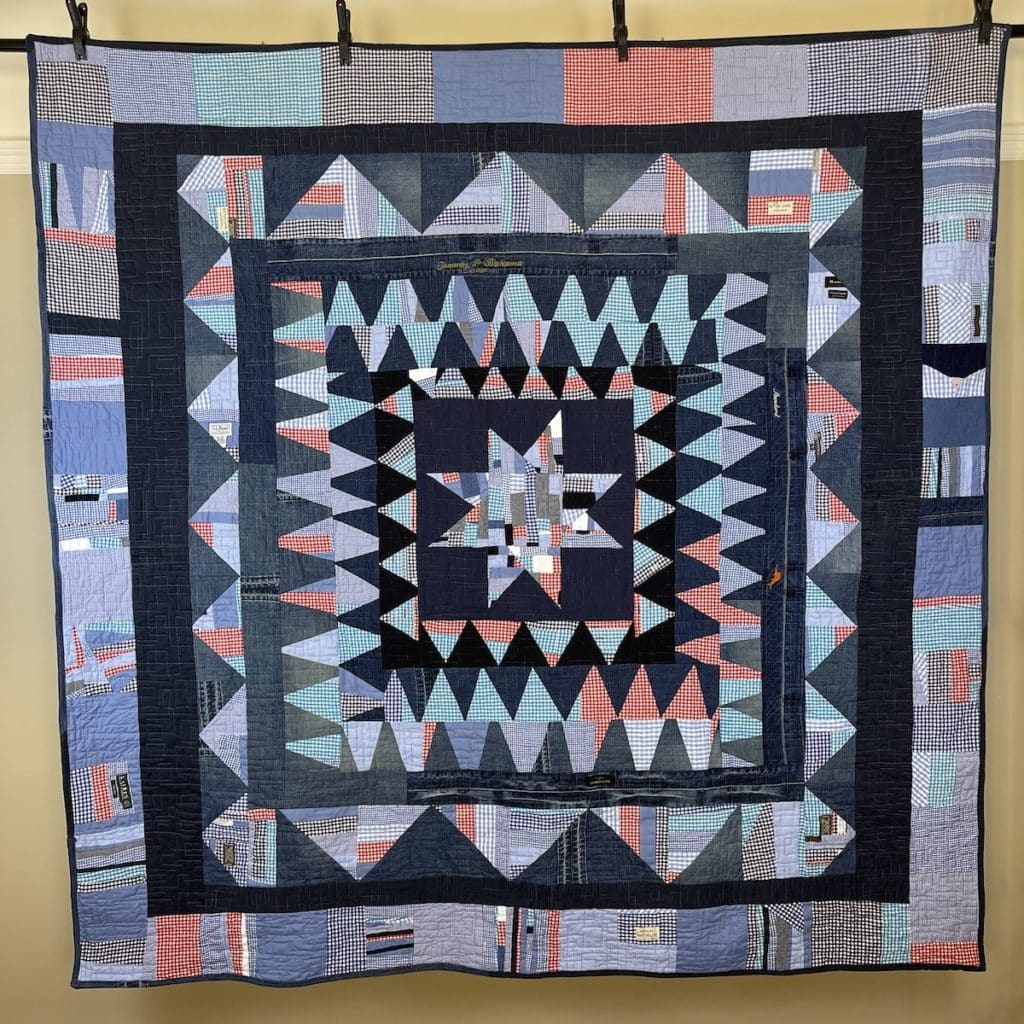
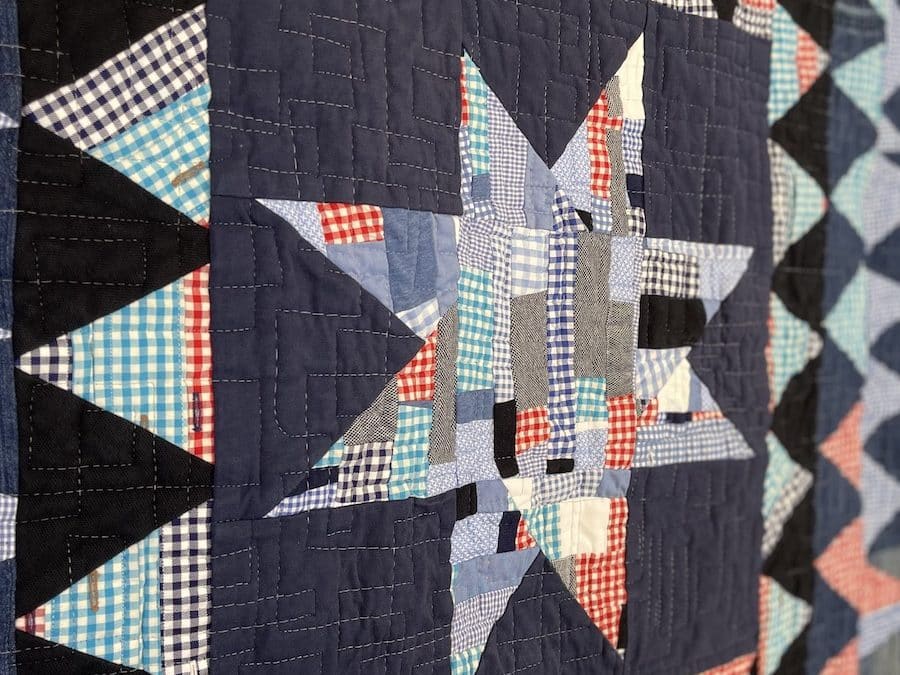
Medallion Side
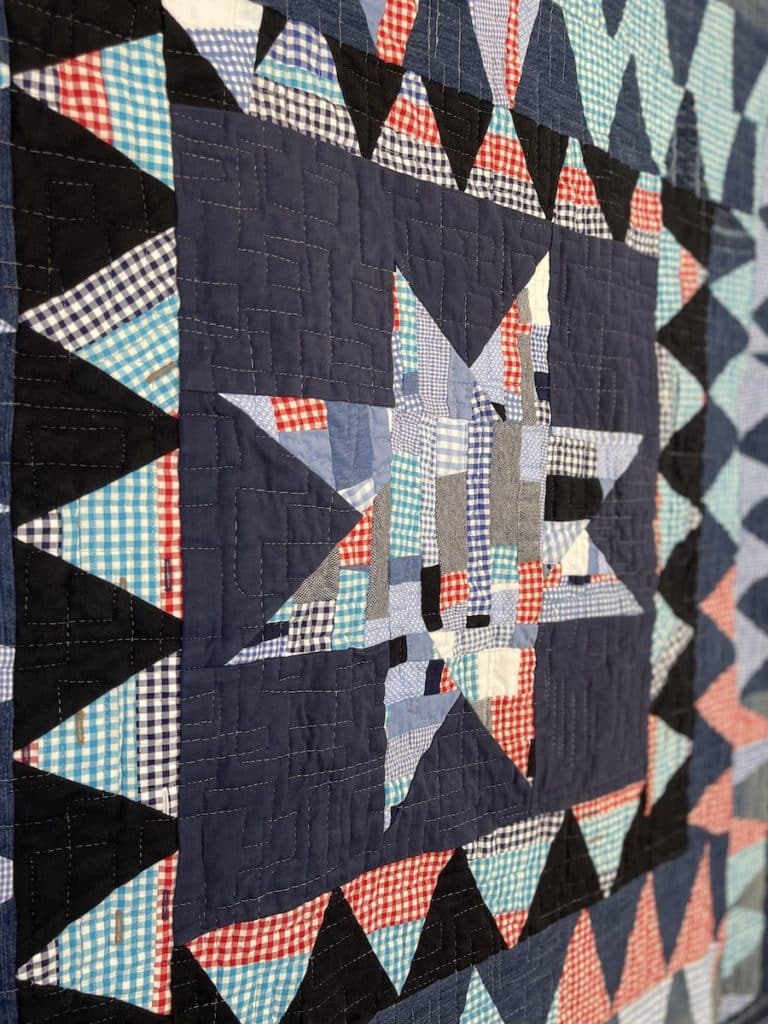
Medallion close up
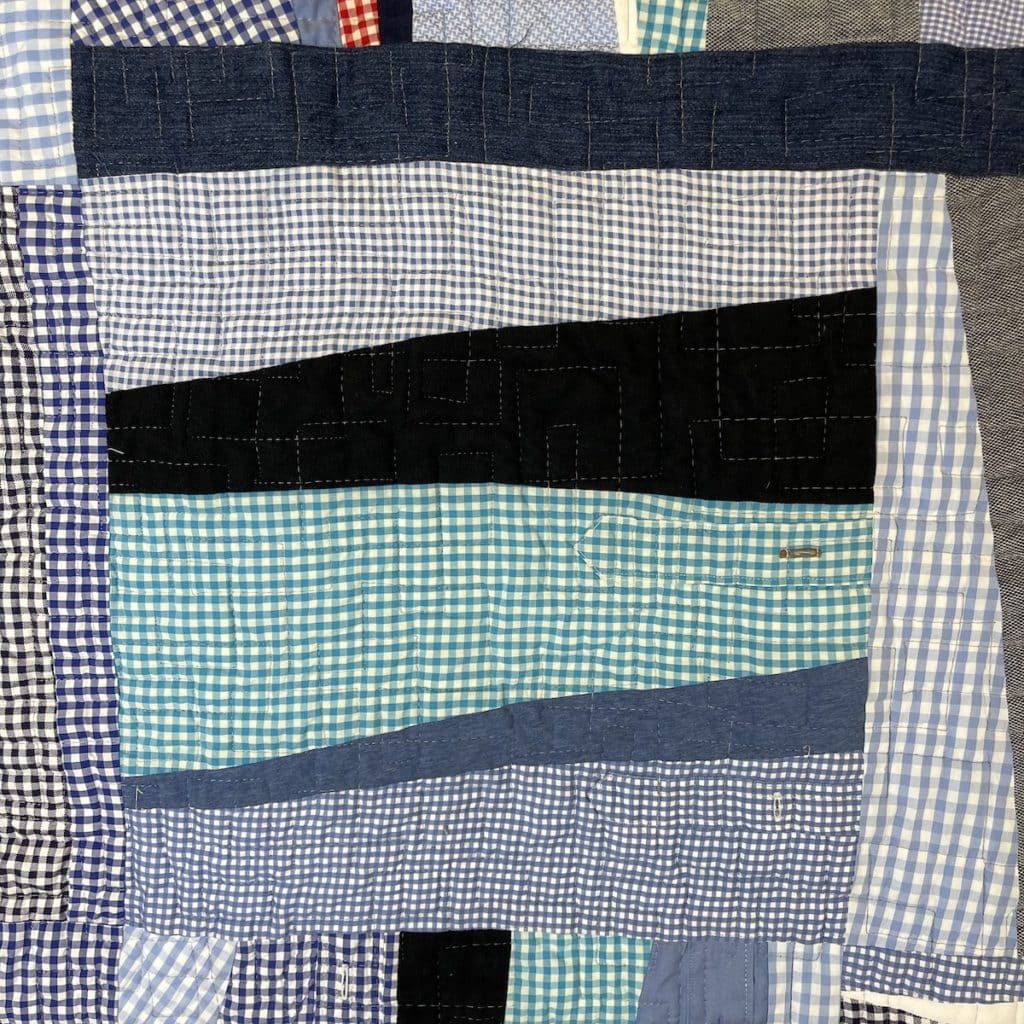
I picked out the hems on the jeans and sewed the ends together to highlight the wear of the denim. I used my favorite quilting pattern on my long-arm.
But even after this, I still had some leftover fabric. What to do with all the collars? As it was approaching the holidays, I made as many Scandinavian Stars as I could with the remaining fabric and embellished with buttons from the shirts and jeans – I loved these little treasures!


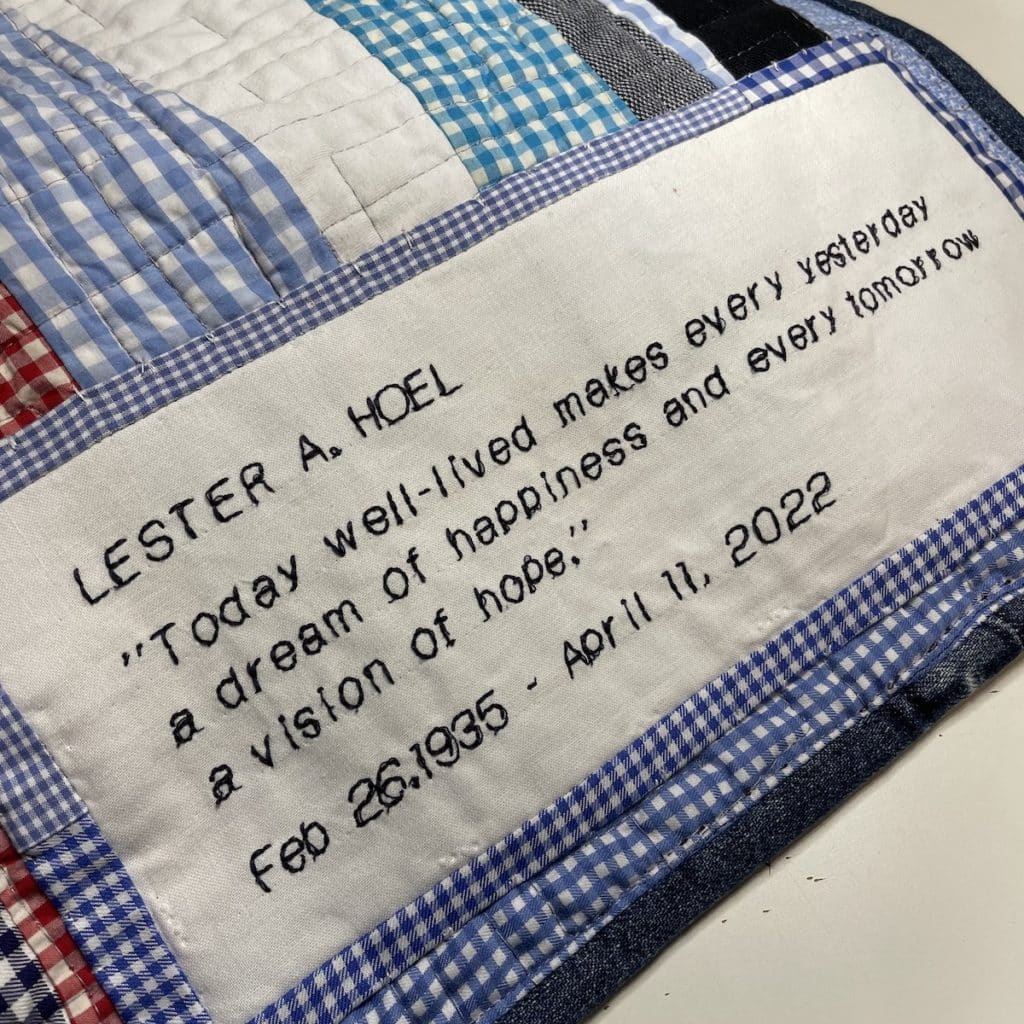
No quilt is final without the label. I was moved by this quote, provided by his daughter from the “Salutation to the Dawn” that was a favorite of his. (Note: The final label was corrected to read April 19, 2022)