

I enjoy having a project that I can mass produce while listening to an audiobook and zoning out. This project is one that works for me – and has been a great way to use up my large stash of Kona Cotton Solids (and continuing with my 2018 New Year’s Resolution to use what I have and not buy fabric.) I’m making these all into long “bar” blocks by color – oranges, reds, blues, yellows – all the colors! I was asked my process to do this and thought it was high time to post a new tutorial. So here goes!
This is a very forgiving process that is easy to eyeball. Try your best to line up the fabrics so that when you sew them all together it makes a long bar. You can then trim them down to make straight lines to sew them all together. Also, the idea is to make the bars look random – so if you see you’ve put too many darks or lights together, you can just switch it up on the spot as you sew.
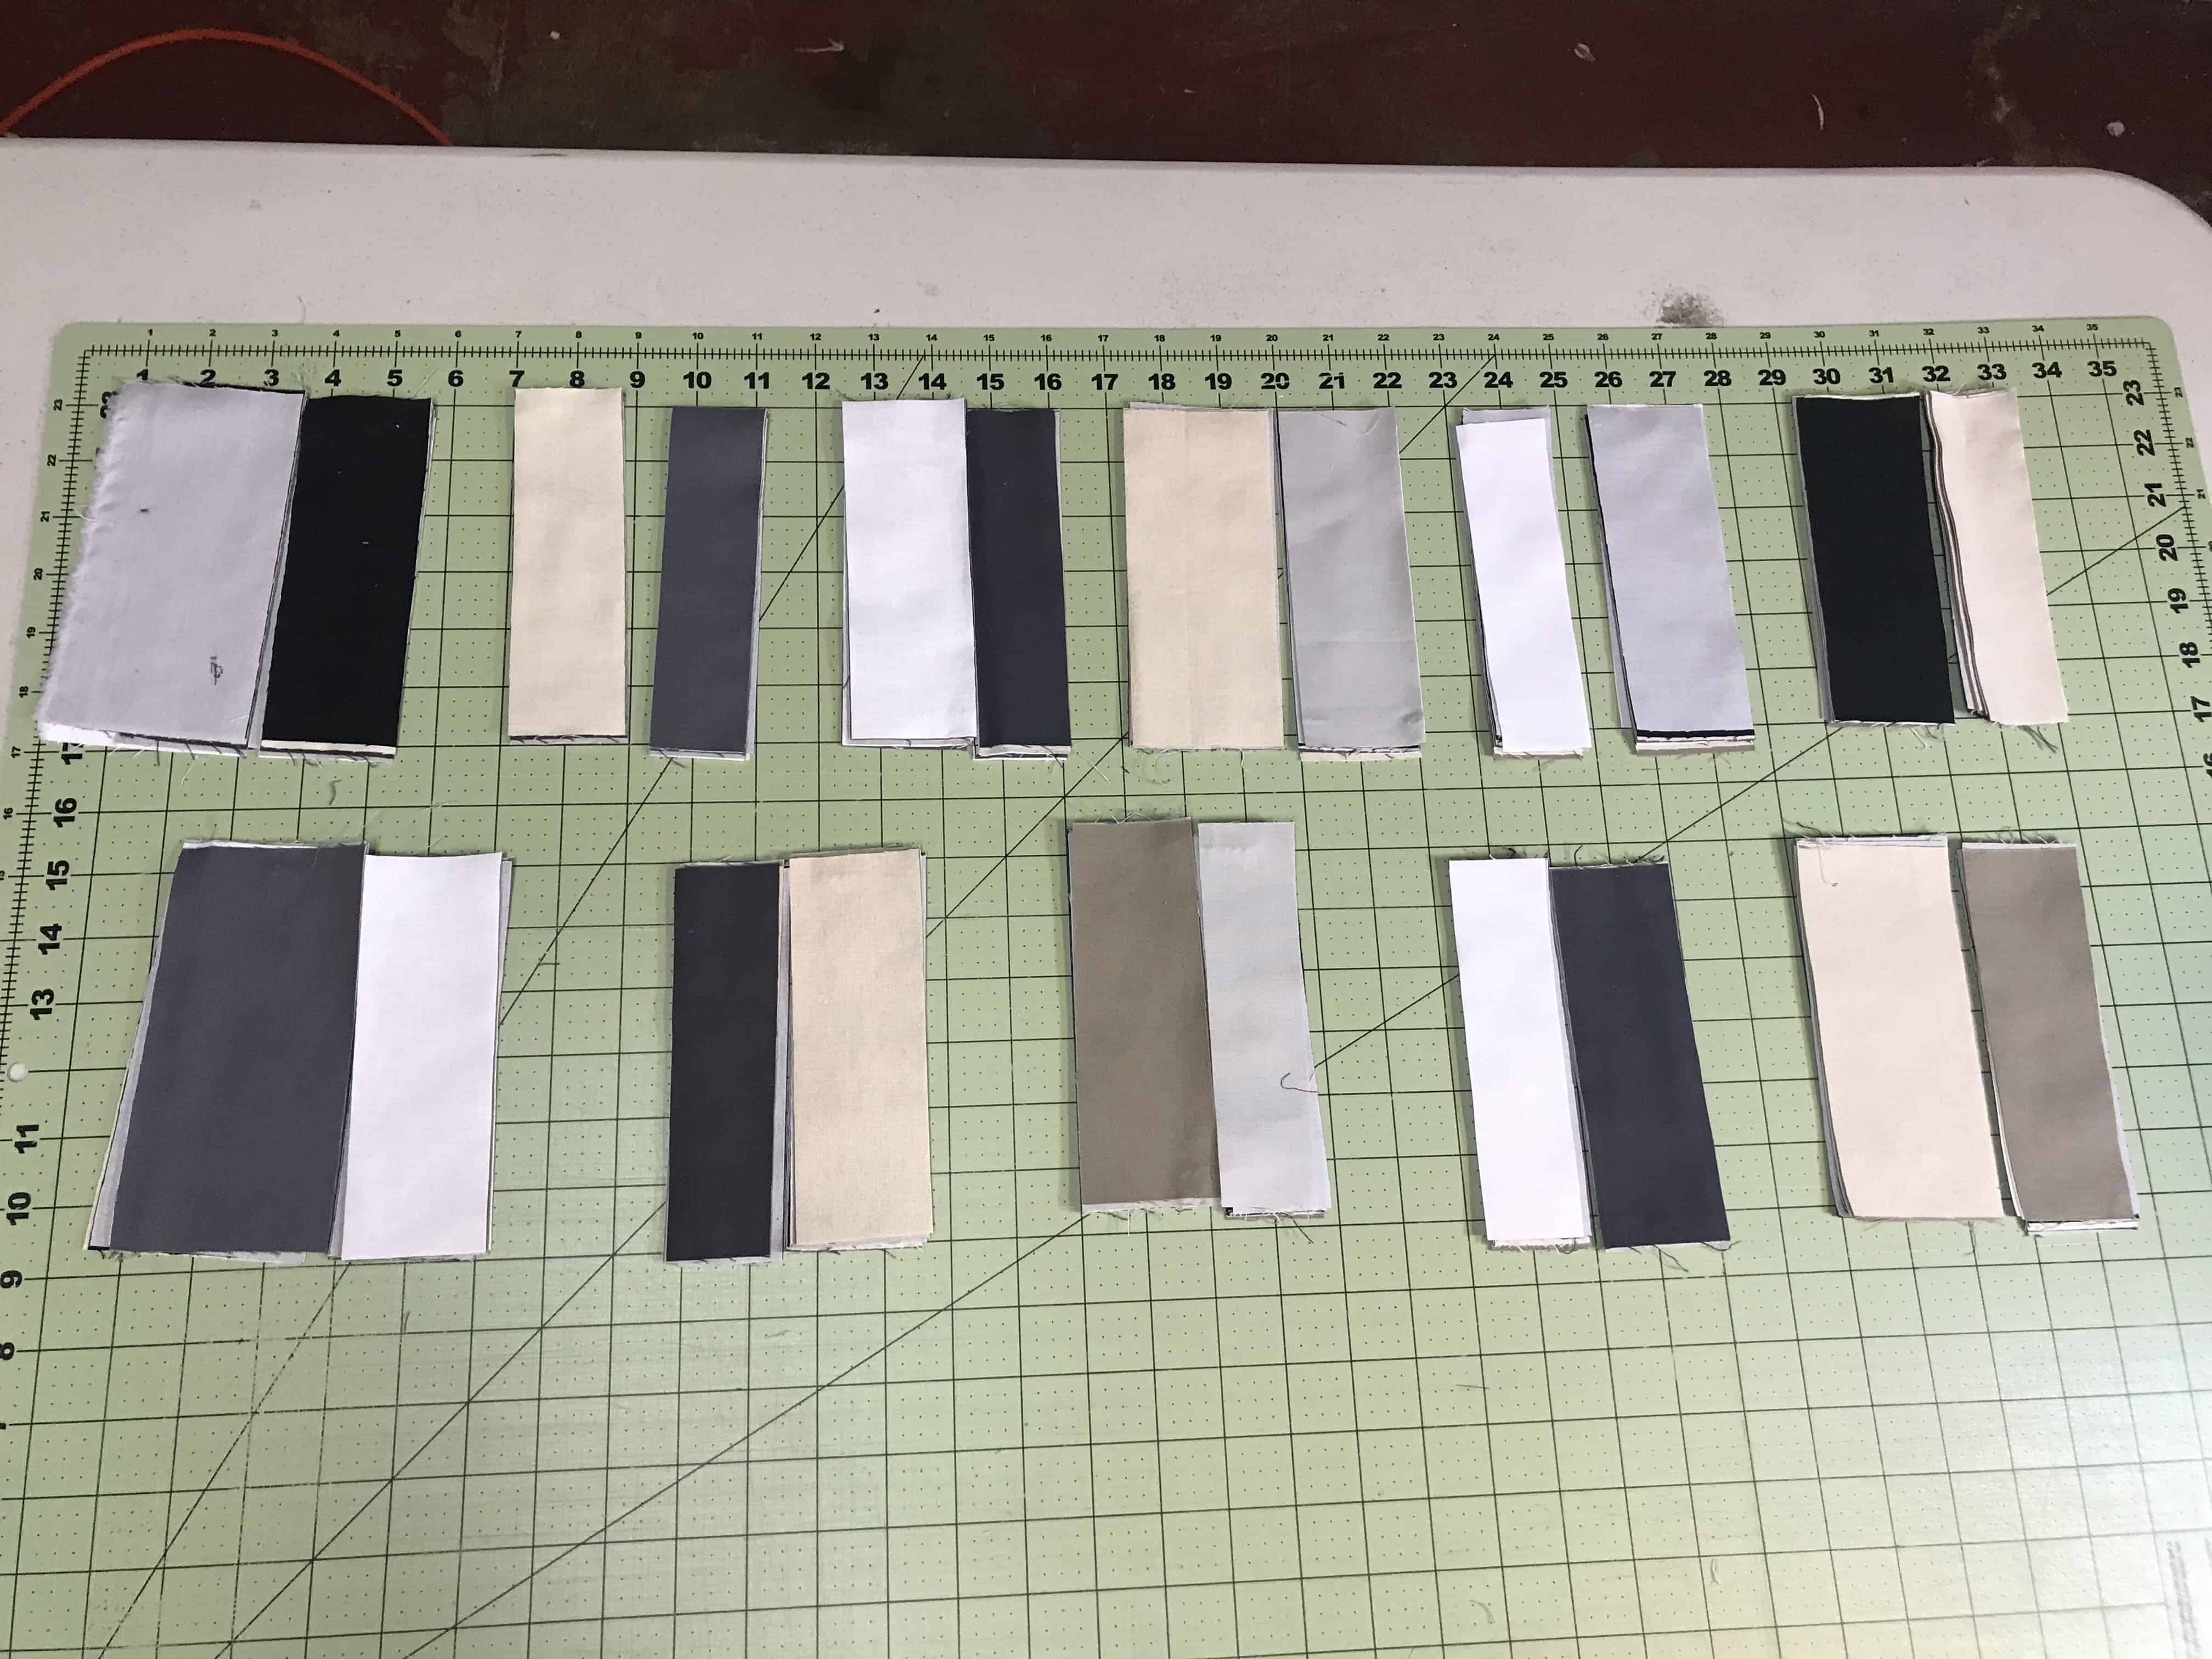
I start by selecting about 8 different shades of the same color of fabric and them into 6″ strips the width of fabric (43″- 44″). There is nothing magical about the 6″ – I just happen to have a ruler that wide and it makes it easy to cut a lot of them. I cut about 8 -10 strips of various shades, then stack them alternating contrasting lights and darks.


Line up all the alternating fabric strips into one long 43″ stack. Cut them into various sized pieces. I usually alternate between 1 1/2″ at the smallest to 3″ at the largest, and try to have a lot of variety.

I then line them up into pairs.

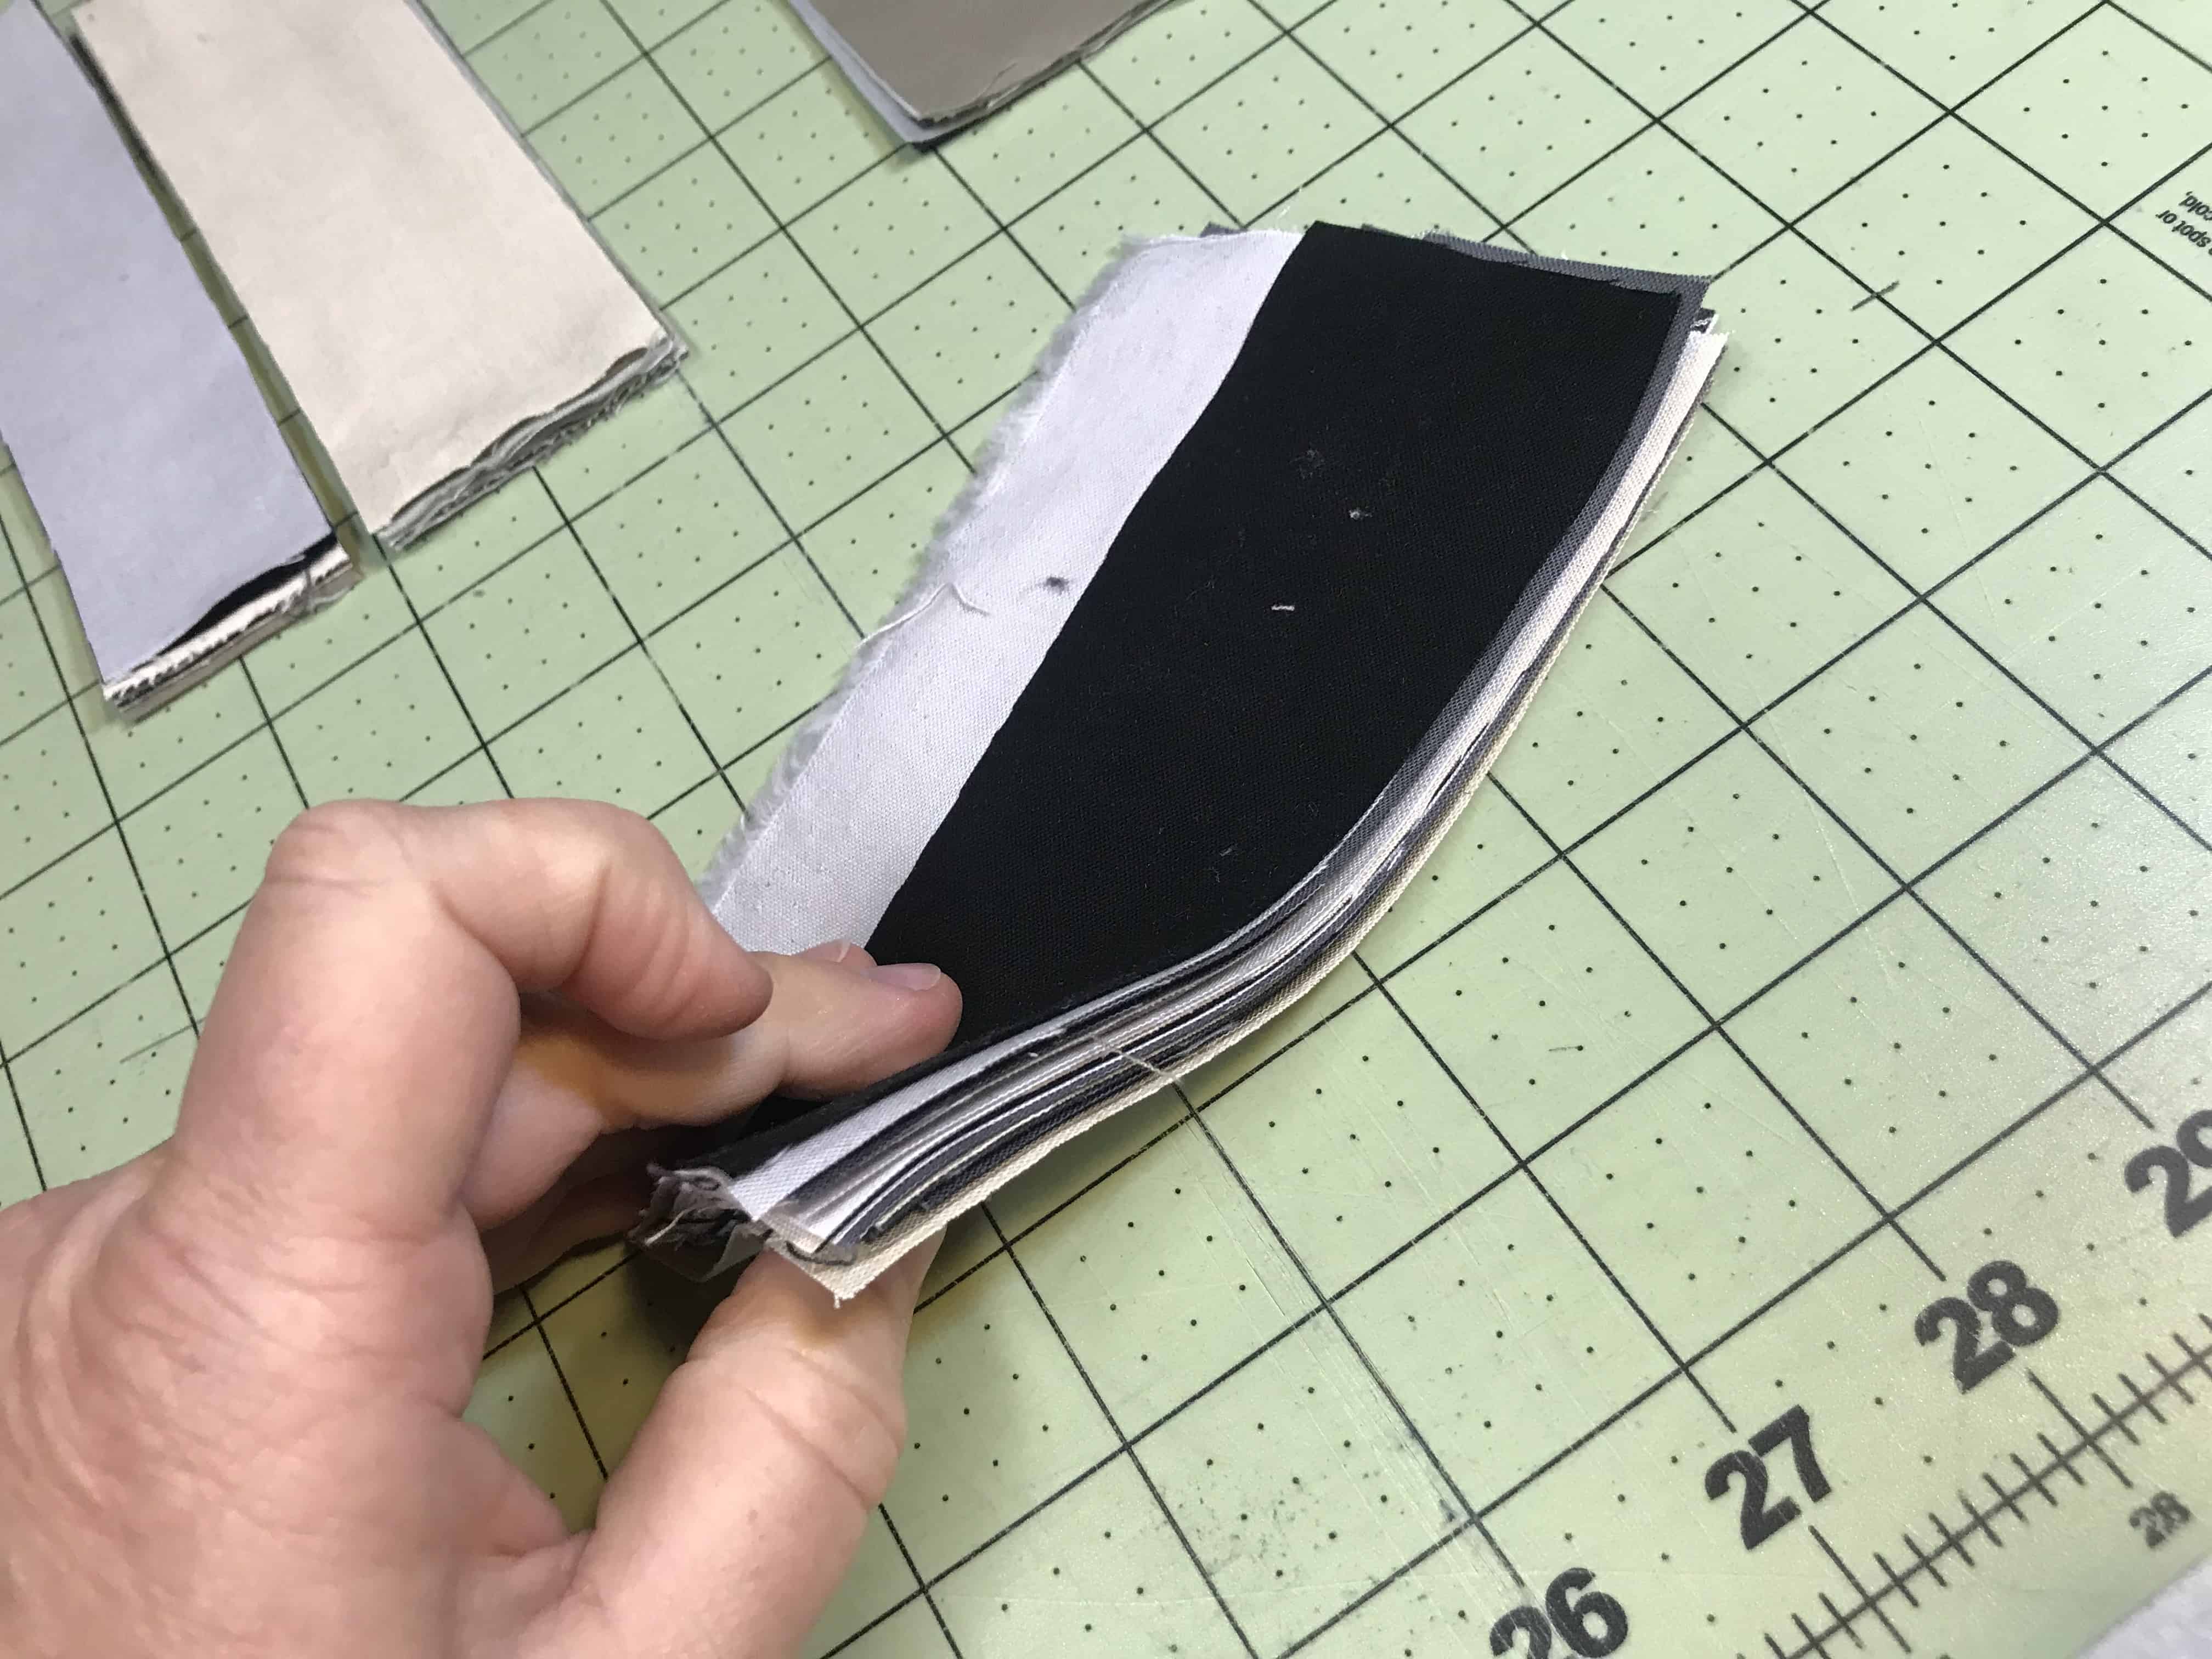
Using a “stack and whack” technique, I start with the first pair. I leave the first pile (A1) as is, then move the top fabric A2 to the bottom of the A2 pile to reveal a different/contrast fabric to make the A1/2 pair. For B1, take the first 3 fabrics and put on the bottom, and with B2, take the first 4 fabrics and restock those to the bottom. I go through the entire set of pairs this way. (And if you get confused, you can just eyeball it – there’s no getting this wrong!) Once I’ve gone through and restacked them, my layout looks like this.
I then take the top layer of fabric from each pair, put right sides together and line up the right hand sides of each of the pairs. I lay out the pairs, then stack all of the pairs up together and pin the stack (readying it for easy chain piecing.)


I usually pin a pile. Each pile will be sewn together into a “bar block” by chain piecing.

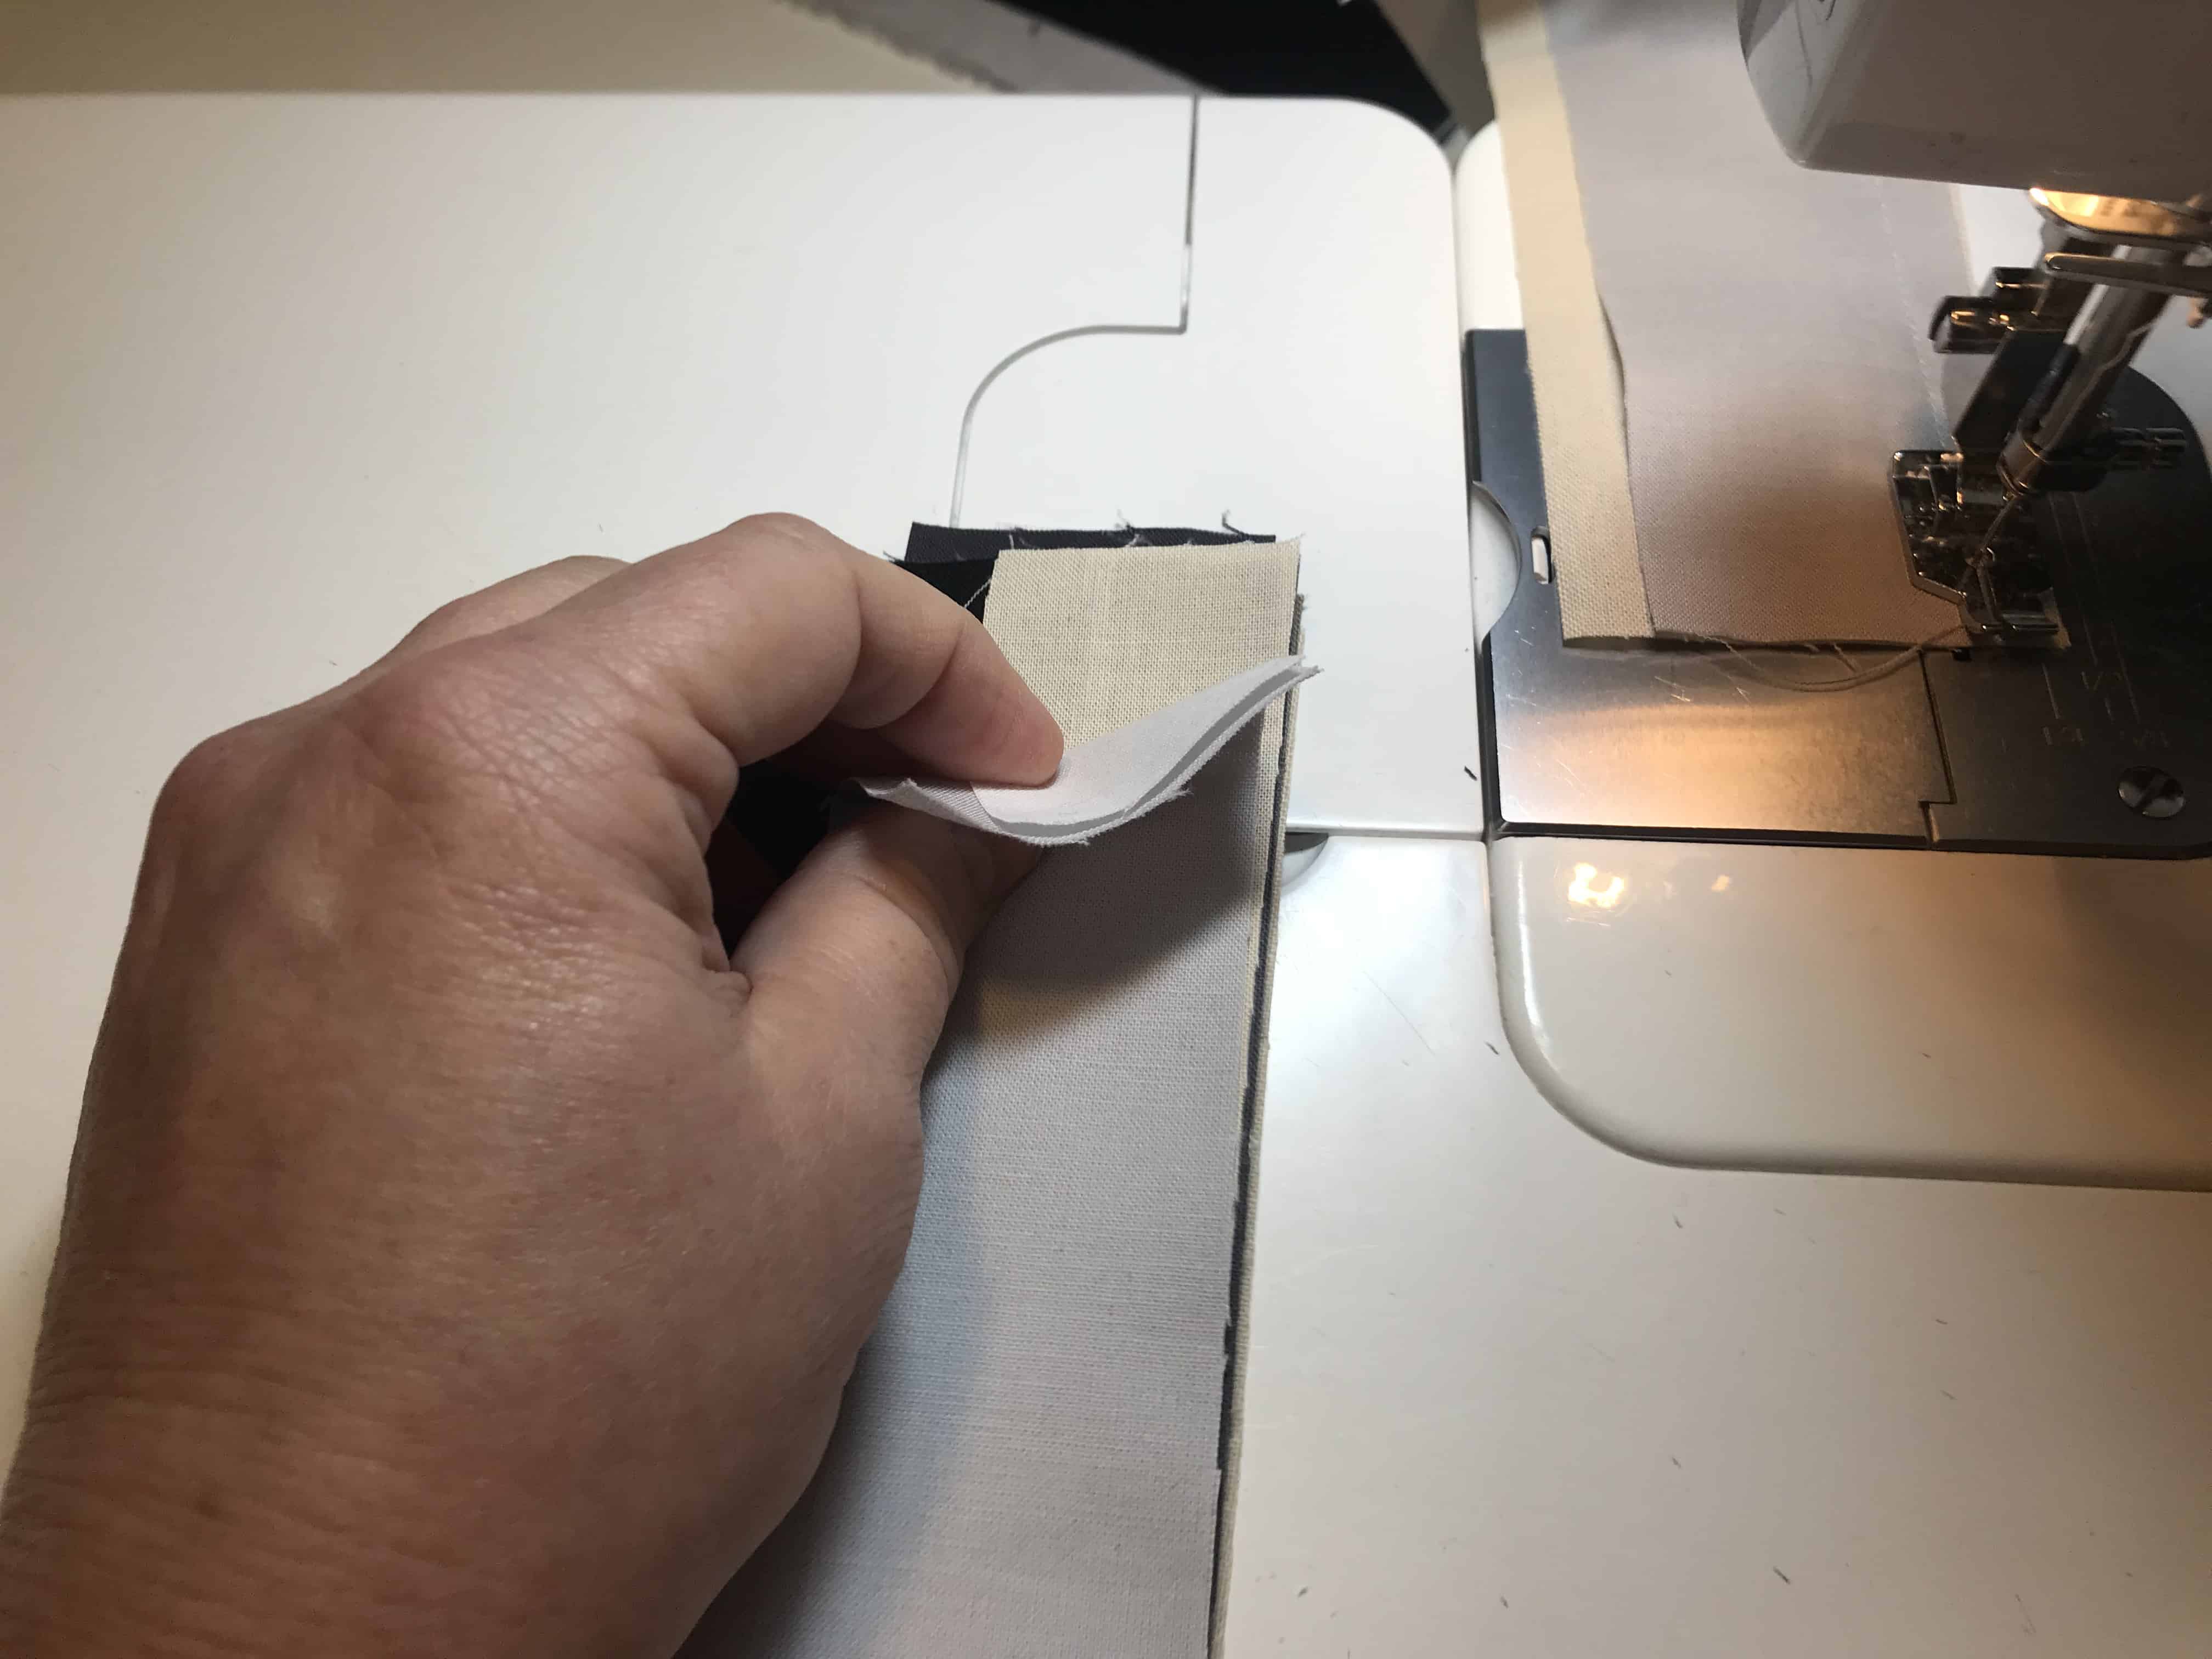
I take the first pile (remove the pin, of course!) and take the first two fabrics and sew together. Without cutting the thread, I feed in the next two pieces of fabric, and so forth, using the chain-piecing method to sew all the pairs. It will look like a little banner.
 What I like about this project is you can do a lot of sewing and eyeball keeping it all int a line without having to get up and press.
Starting with the last two pairs sewn I open them up with my fingers (no pressing needed yet!) and start sewing the pairs together. One pair at a time I sew them to the right hand side of the bar block that I started. I just keep going until all the pairs are sewn on.


I usually sew through a pile, then iron them all at the same time. To make it even easier, I just press the seams to one side (no need to open up the seams – too much work!)


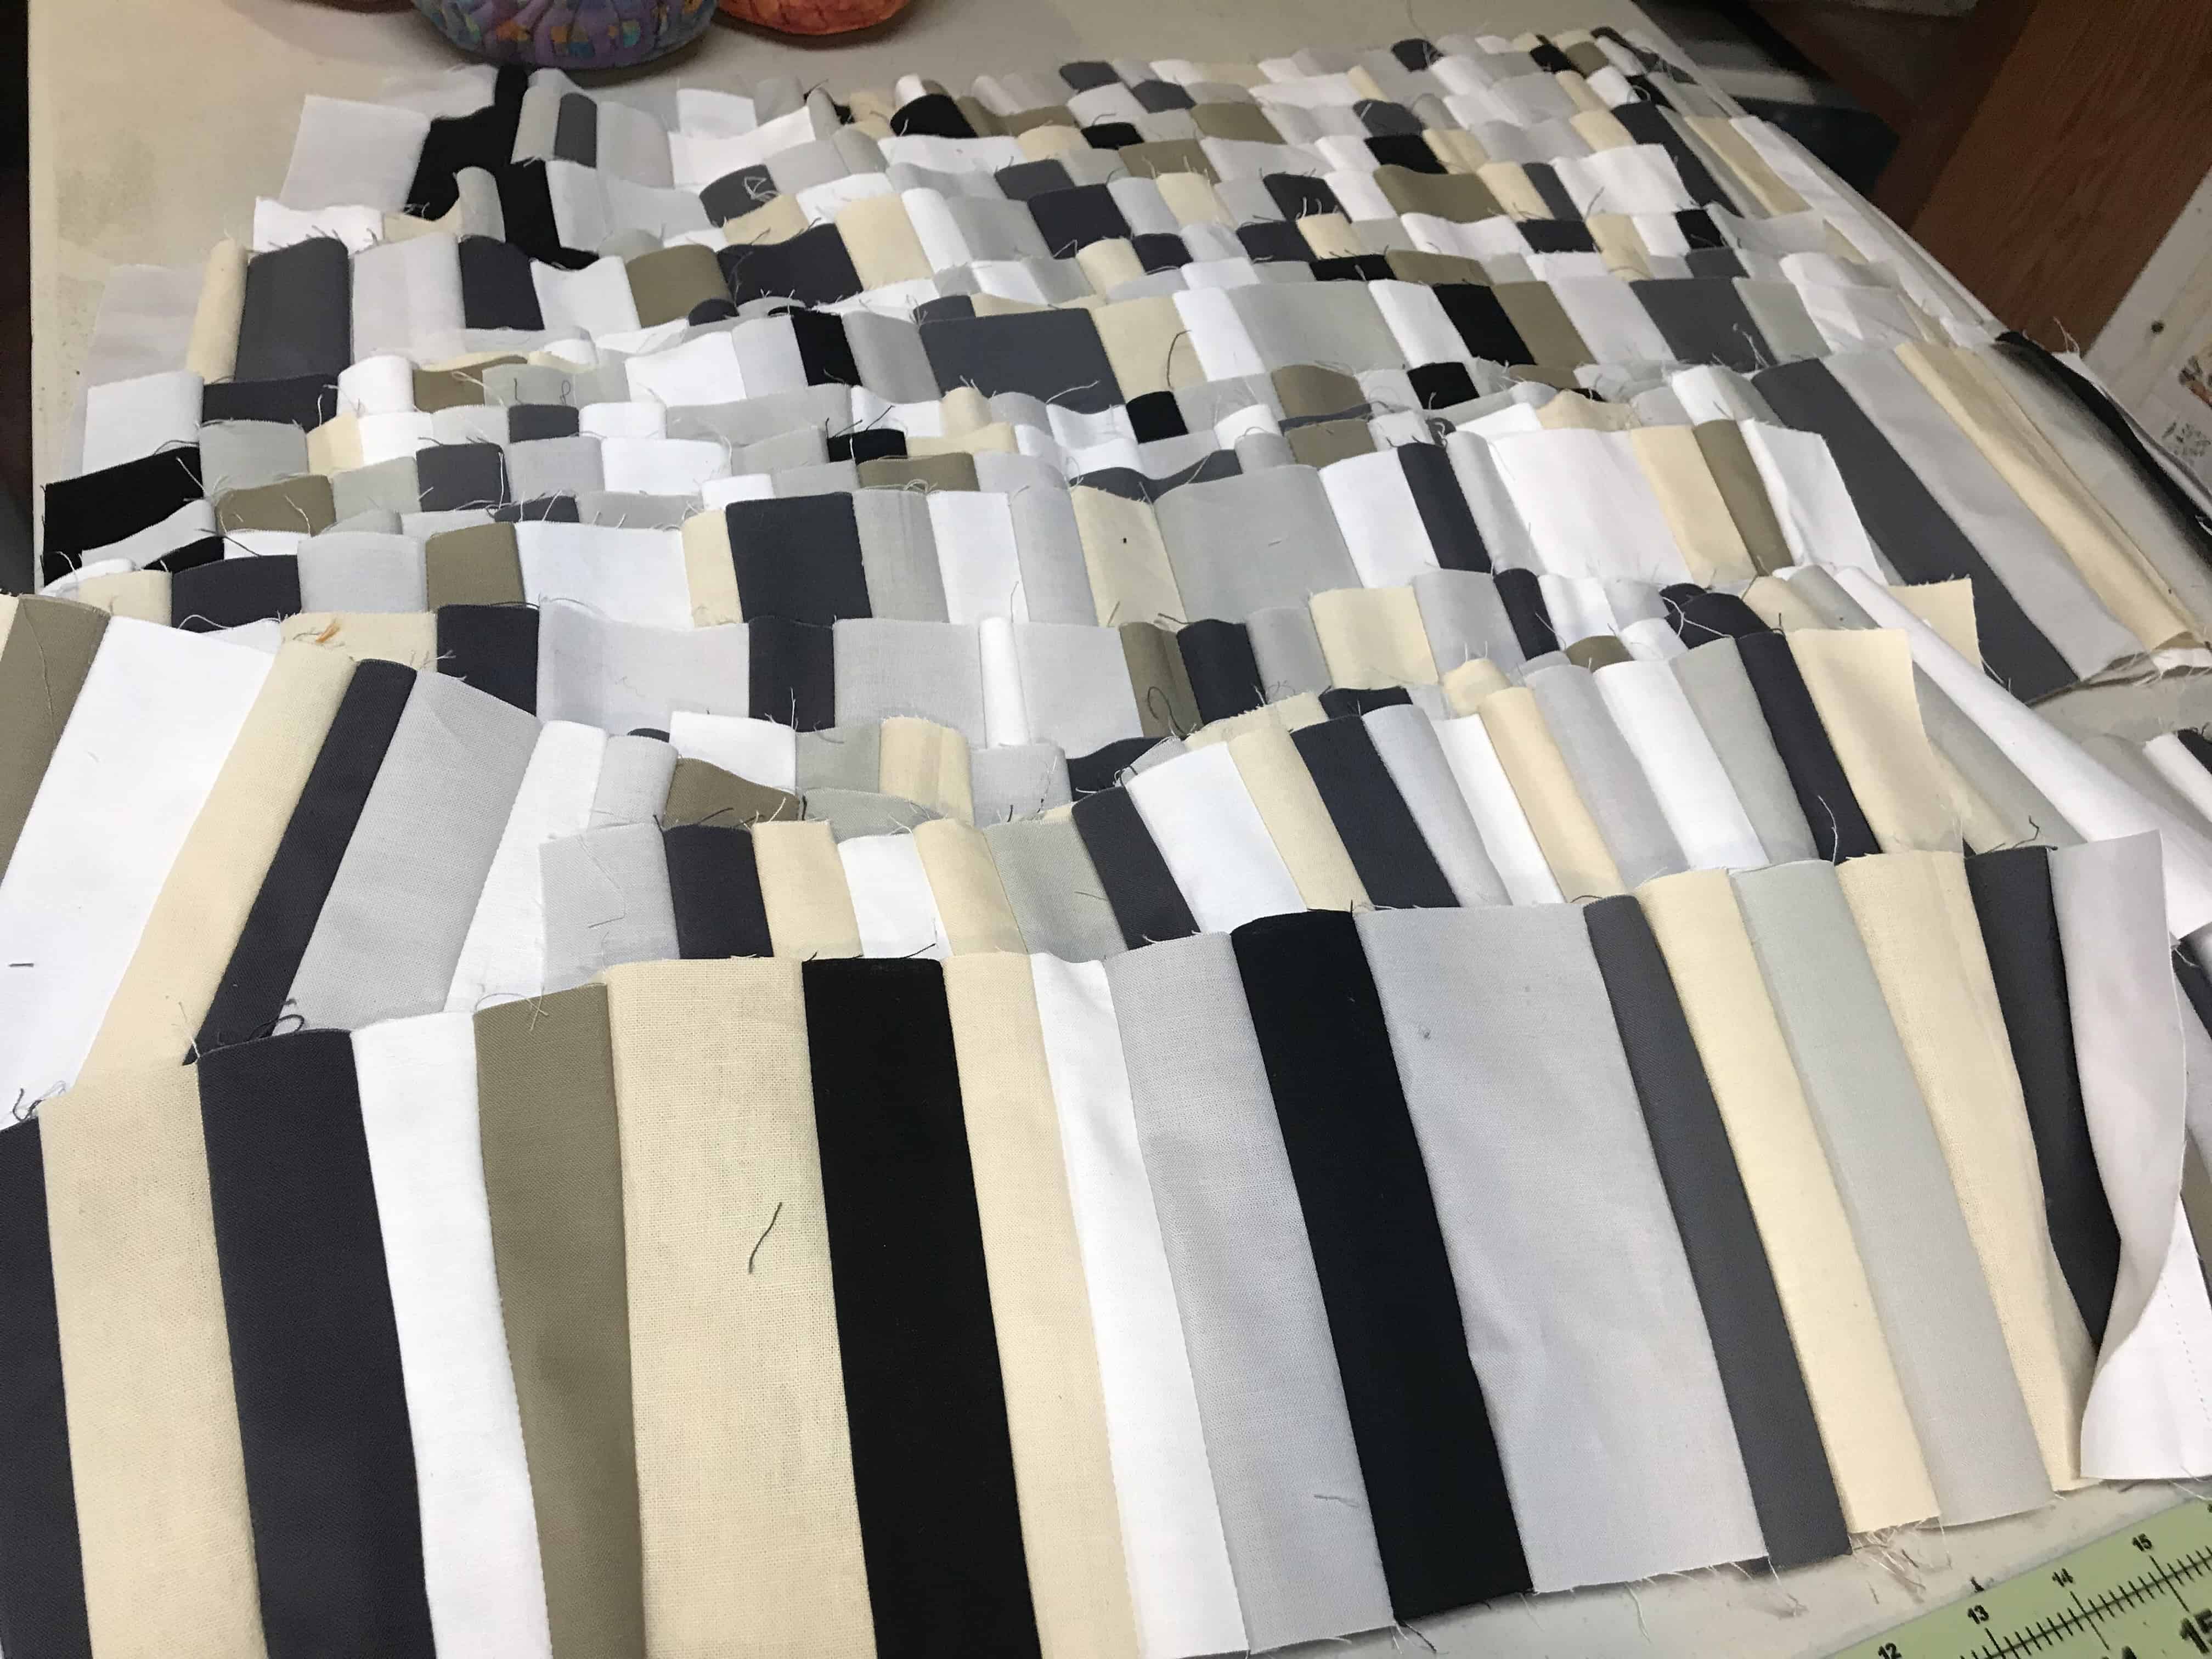
And a day of sewing all this together, here is what a portion of it looks like up on my design wall. Once I decide to piece it all together, I’ll move some blocks around so that there aren’t “globs” of dark or light patches and it’s all spread around evenly and randomly.

Here are some of the others I’ve made from my other piles of color pieces. Below are examples of things I’ve made from similar sized blocks. I’m still not sure what I’m creating from this but know I have enough for a lot of different quilts!
This was a wedding quilt for a special friend using colors reminiscent of their honeymoon in Hawaii. I think she liked it!

